
[NSX][IaC] Terraform for Network Engineers: Automated deployment of NSX Manager OVA
[NSX][IaC] Terraform for Network Engineers: Automated deployment of NSX Manager OVA
As some of you know, a few days ago I decided to renew my home lab, changing my old UCS C250 for a light and silent 12th Gen Intel NUC, which I am very happy with! I will write about it very soon.
One of the tasks to be done during the deployment of this one, was the installation of NSX, something I am already used to do manually, but I needed a new challenge, so I started thinking and…. Yeah! the idea came up…. What if I try to automate the deployment and implementation of NSX completely with Terraform?

The idea of this series will be, that every network engineer coming from the conventional world, that like me, wants to learn about Automation, IaC or NetDevOps topics starting from scratch can do it in a simple way, so I will try to be as explanatory as possible. I will also indicate that I will publish as I learn, so I am also a novice …. If you see any errors or have suggestions for improvement on my steps, they will be well received! 😊
First of all, what is Terraform and what is IaC?
If you come from a conventional networking world, I imagine the first question that will come to mind is: What is Terraform and what is it for?
Terraform is an open source tool developed by Hashicorp that allows us to automate the entire deployment and subsequent management of the lifecycle of our infrastructure through code, i.e., we can write through code how we want our infrastructure to be and what parameters we want it to contain, and the tool will take care of the rest.
For example, we can define how our network fabric or our server fabric should look like in templates so that its creation, modification or decommissioning can be done in an automated way.
To achieve this, Terraform relies on Providers, which are those plugins developed by the vendors themselves, HashiCorp or by the community and are responsible for transforming the Terraform code into actions on the infrastructure. For this tutorial in particular, we will rely on the vSphere provider. But we can find providers from many other vendors such as AWS, Azure, GCP, Arista, Cisco, HP, Dell, Oracle…
Step 1: Preparing our computer for Terraform
In this section, we will install on Windows both Terraform and Visual Studio Code and the Terraform extension to simplify code development. If you already have Terraform installed or are using another operating system, you can skip this section.
1.1 Downloading and installing Terraform
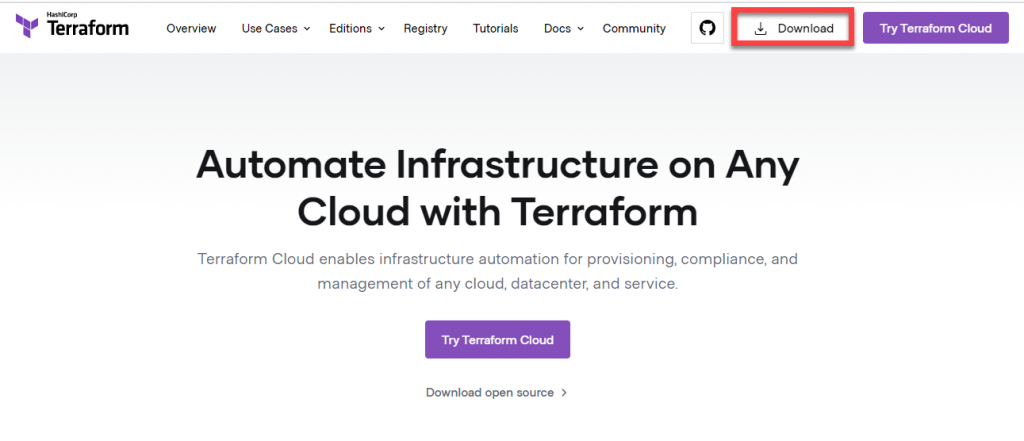
First, we will go to the Terraform website and click on “Download” in the upper right corner.
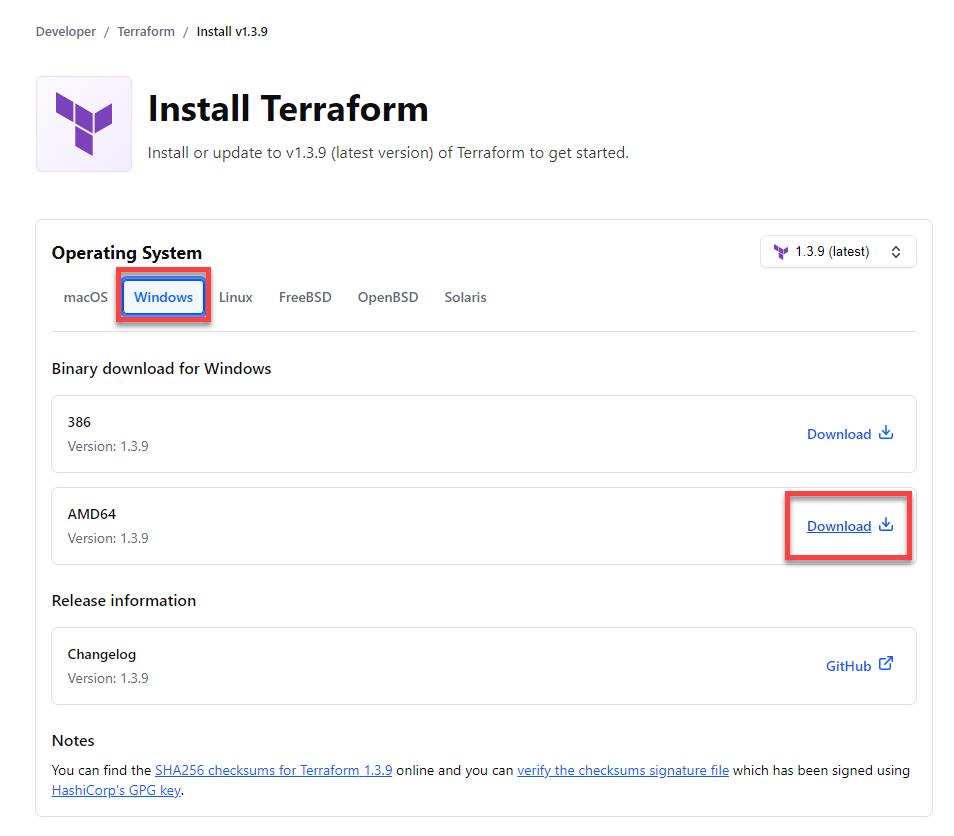
We will choose our platform, and click on “Download”.
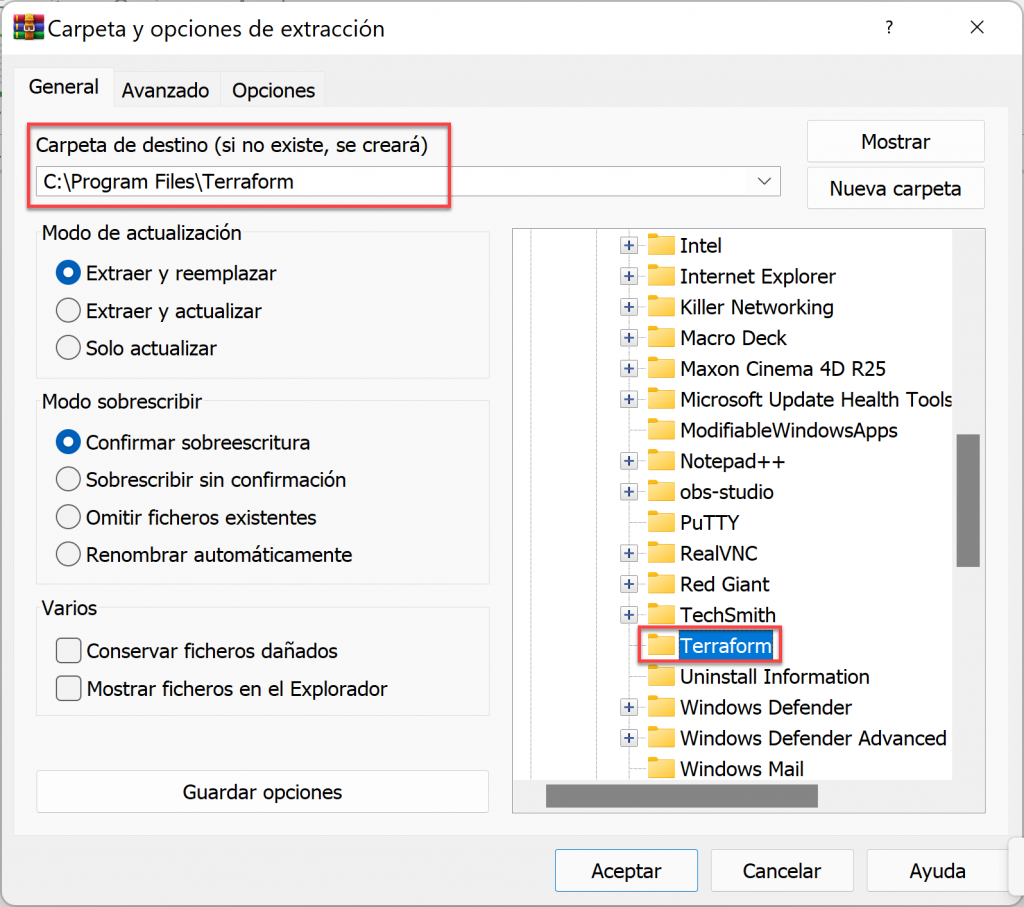
A Zip file containing the Terraform executable will be downloaded. We extract it in the path where we want to install it. In my case it has been “C:\Program Files\Terraform”.
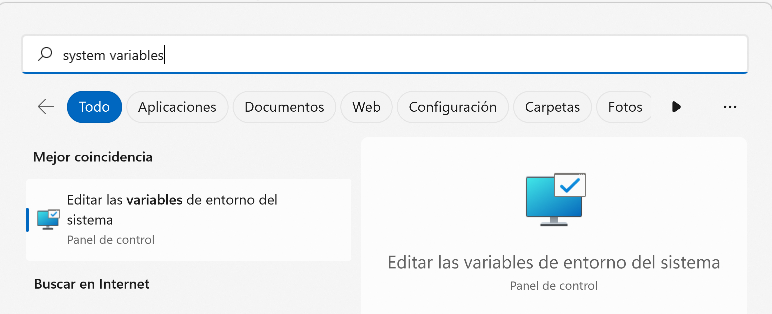
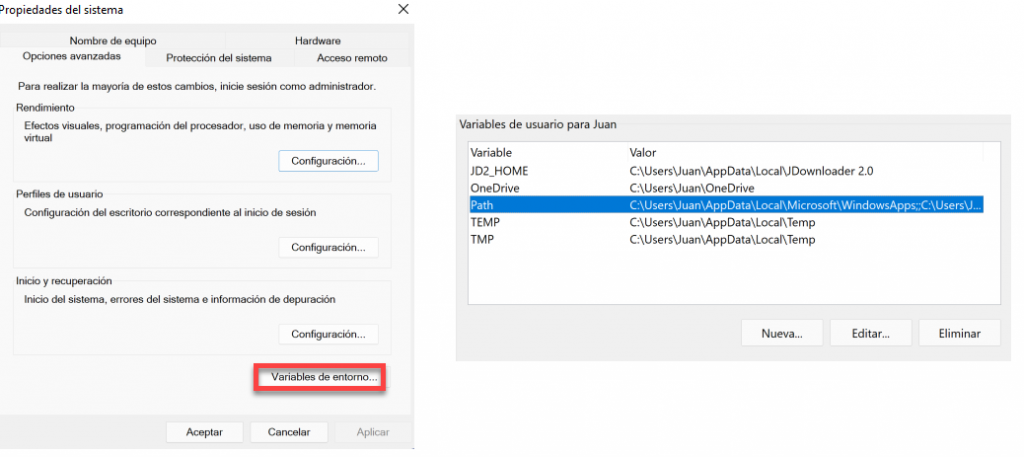
The next step will be to add the directory where we have decompressed Terraform to the environment variable “Path” so that our CMD can find it. Open the Windows menu and look for “Environment Variables”.
Let´s click on “Environment Variables” and edit the environment variable “Path” for our user
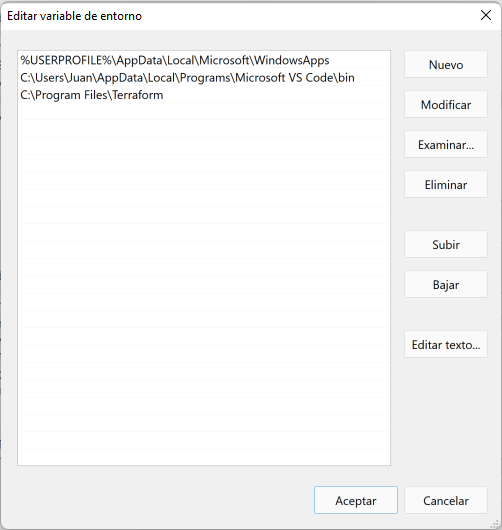
Then, we add the path where we have unzipped Terraform and save.
To verify the operation, open a Windows CMD and launch “terraform“.

A list of available commands will be returned, indicating that Terraform has been successfully installed in your system.
Step 1.2 Downloading and installing Visual Studio Code
Although this is optional, Visual Studio Code will make our work much easier when working with code since it contains a tree view of files as well as a visual editor.
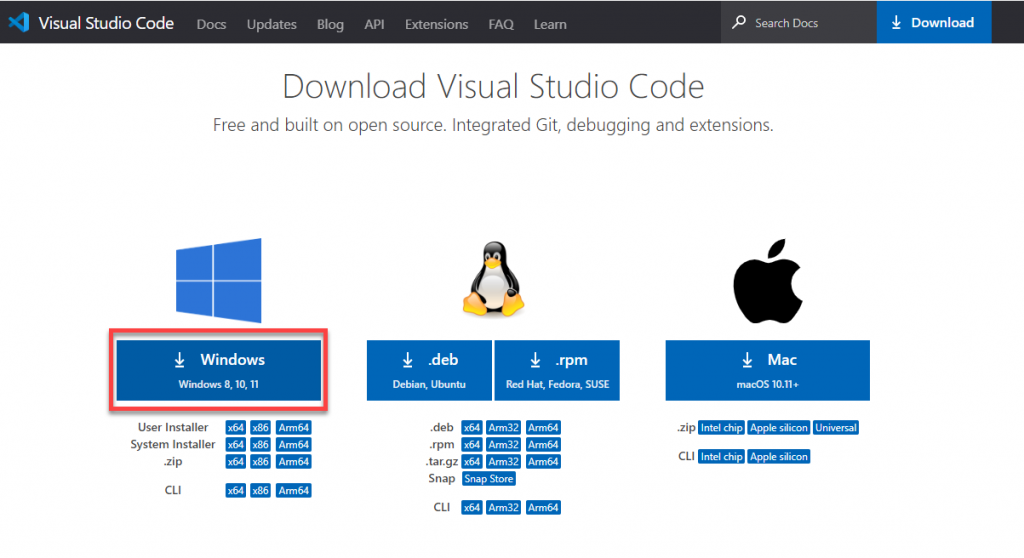
To download it we will go to its official website and choose our platform. Execute the resulting file and follow the wizard.
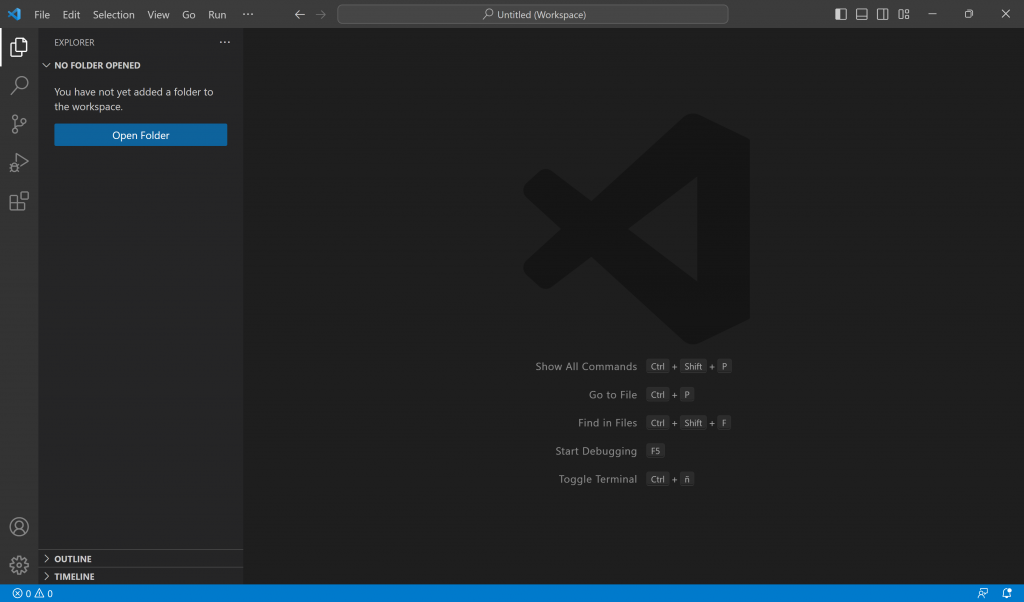
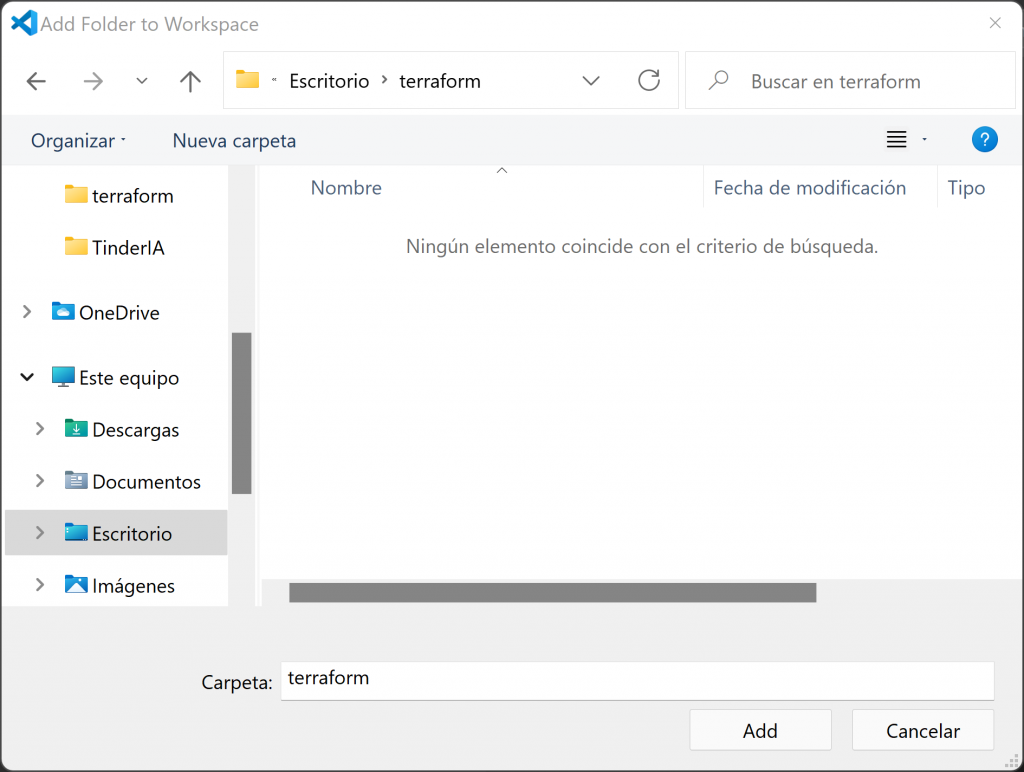
Once Visual Studio Code is installed, we will open it and click on “Open Folder”, choose the folder where we will work with our Terraform files:
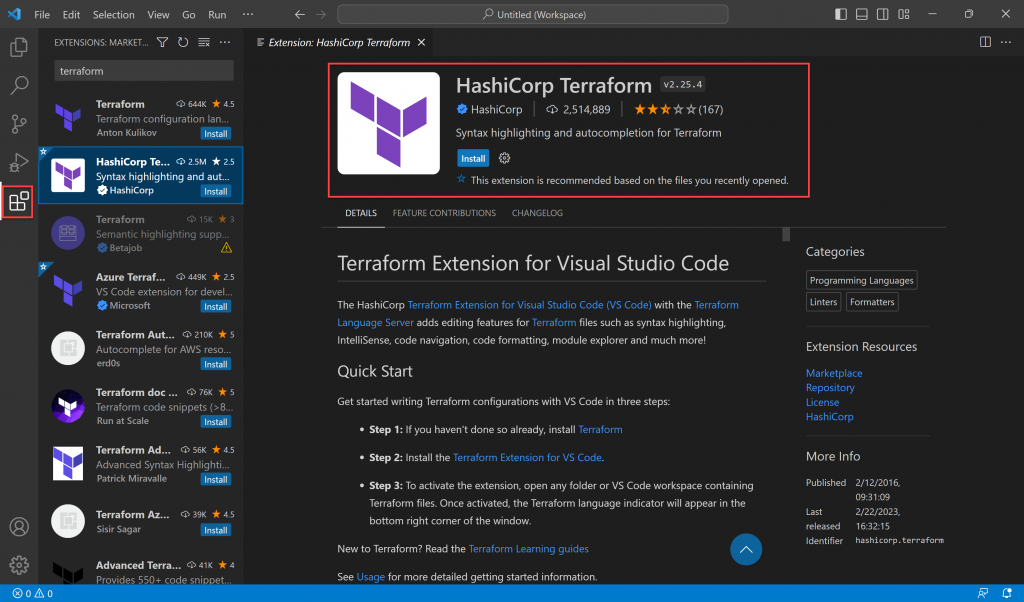
When we have the folder chosen, click on the left menu on the Extensions icon, look for the official Terraform extension and click on Install.
With this we will have our environment ready to start working with Terraform.
Step 2: Creating the necessary files and programming our infrastructure
Next, we will prepare the necessary files for Terraform to work, for this we are going to create 4 different files, which are the basic ones in any deployment:
- providers.tf – In this file, we will define which providers we want to use for this Terraform project, in our case we will use the vSphere one. It is necessary in order to be able to initialize Terraform.
- main.tf – This file is the main file of the project, it contains all the configuration and the actions to be performed.
- variables.tf – In this file the variables to be used for the project will be defined, as well as the possibility of adding a default value in case they are not specified in the file that follows.
- terraform.tfvars – In this file values will be given to the variables defined above. This would be the only file that we would modify for example to deploy exactly the same infrastructure in a different environment with different IPs, different DNS servers…
We will create these 4 files with Visual Studio Code, by clicking on the workspace and then clicking on “New File”

Next, we can start creating code. For this I have mainly relied on the following documentation:
- The official provider documentation, on the HashiCorp site
- Brian O’Connell’s blog, who has already deployed the NSX Manager OVA using Terraform in the past.
2.1 The providers.tf file
First, we need to add our provider to the providers.tf file
To do so, go to the provider’s official website (link) and click on “Use Provider” in the upper left corner.
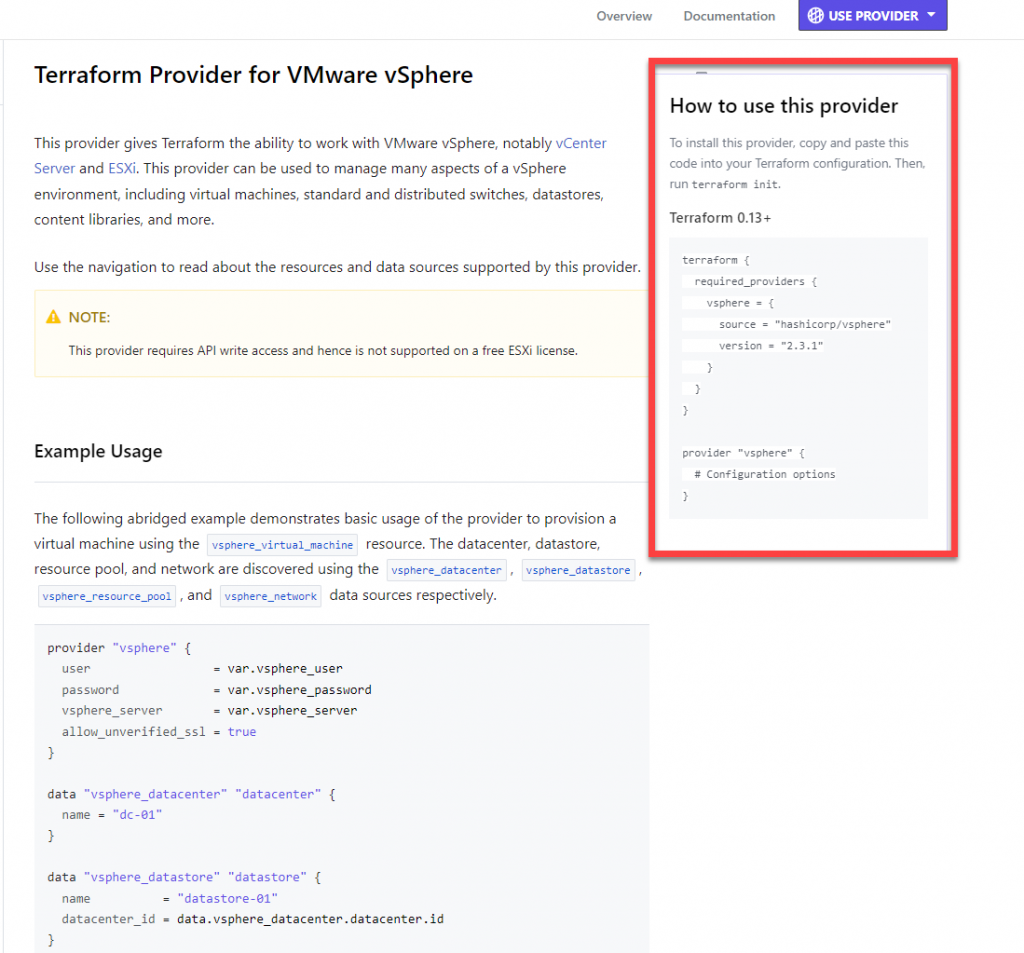
We copy the content into our providers.tf file and add the following lines under
“# Configuration Options”
  user                 = var.vsphere_user # Here we indicate that the vSphere User will be read from a variable
  password             = var.vsphere_password # Here we indicate that the vSphere password will be read from a variable
  vsphere_server       = var.vsphere_server # Here we indicate that the vSphere server will be read from a variable
  allow_unverified_ssl = true # true if we use self-signed certificates / false if we use trusted certificates
The file should look like this:
2.2 The variables.tf file
The next step is to define all the variables that we will use later in our main.tf file.
To know what they are, on the one hand we must read the provider documentation to know which fields will be requested. In the vSphere provider documentation, we see that to implement an OVA (link), the following parameters are required:
- vsphere_server: vCenter server
- vsphere_user: vCenter user
- vsphere_password: vCenter password
- deployment_option: Deployment size, if it is not choosen, the default option will be chosen
- disk_provisioning: Thin or thick
- datacenter: The datacenter where our OVA will be deployed
- cluster: The cluster where our OVA will be deployed
- vsphere_host: The ESX host where the OVA will be deployed
- datastore: The datastore where the OVA will be deployed
- vm_name: The Manager VM name
- vsphere_network: The network (PortGroup) that the VM will use
- local_ovf_path: Path to the OVA file in our HDD
On the other hand, we must specify the vAPP options, these are specific to the OVA we want to deploy, and in the case of NSX Manager I will indicate what they are below, but I leave the following procedure in case for any other OVA deployment we want to know what these values are:
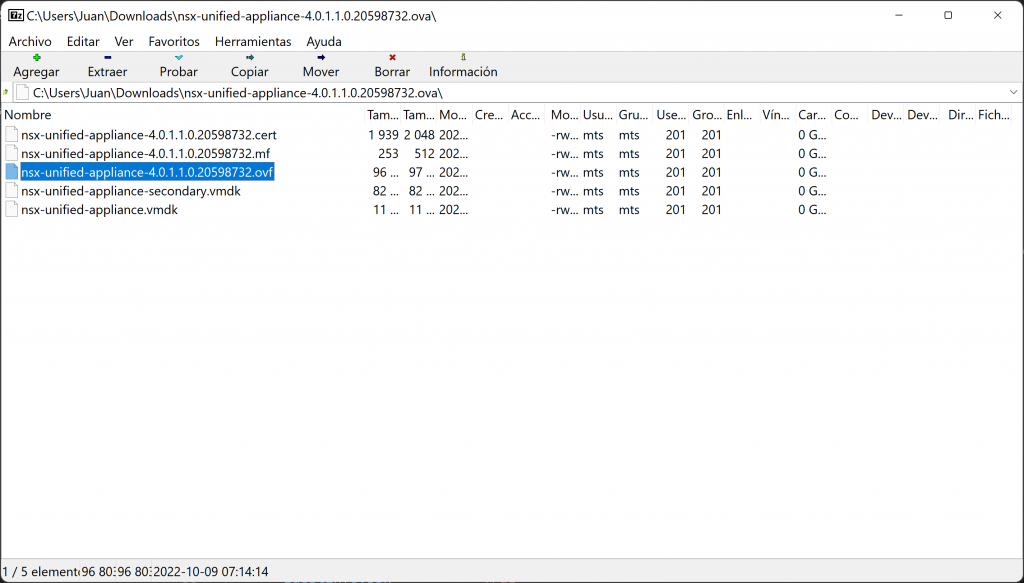
If we open the OVA with an archiver like 7zip, inside we will find an OVF format file:
If we open this file with an editor such as Notepad++, and search for the string “ovf:userConfigurable=”true”, we will see all the vAPP variables available.
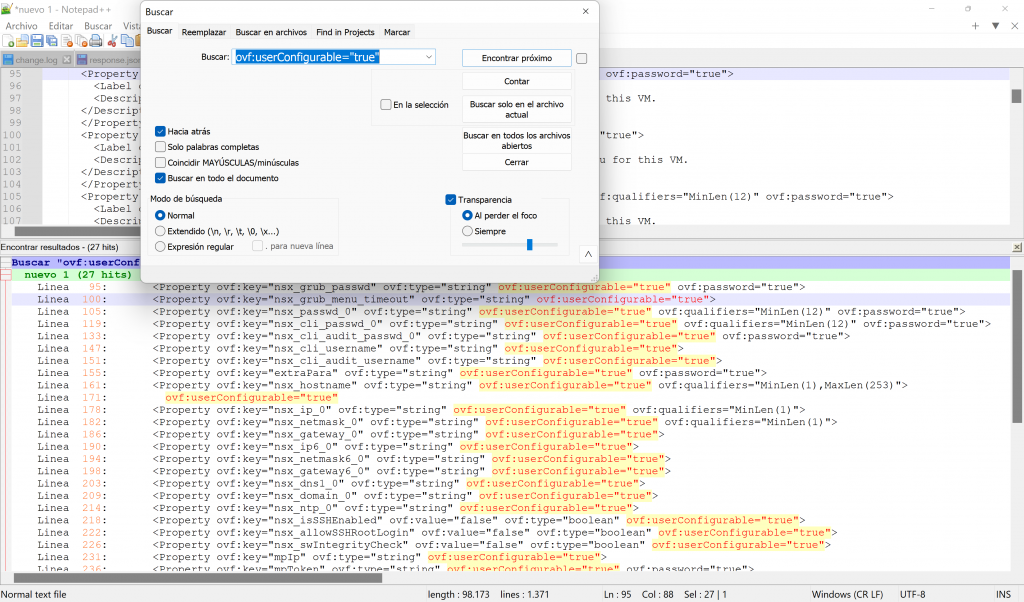
IMPORTANT! Not all these variables are configurable by the user, as some of them are for internal use, so we must carefully check which are the ones we should use.

The variables we will use for the NSX Manager OVA are:
- nsx_role: Manager role (NSX Manager or NSX Global Manager)
- nsx_grub_passwd: GRUB menu password
- nsx_grub_menu_timeout: GRUB menu timeout
- nsx_passwd_0: root password
- nsx_cli_passwd_0: admin password
- nsx_cli_audit_passwd_0: audit password
- nsx_cli_username: admin user
- nsx_cli_audit_username: audit user
- nsx_hostname: Manager Hostname
- nsx_ip_0: Management IP
- nsx_netmask_0: Netmask
- nsx_gateway_0: Default GW
- nsx_dns1_0: DNS Server
- nsx_domain_0: Domain name
- nsx_ntp_0: NTP Server
- nsx_isSSHEnabled: true to enable SSH by default, false to disable SSH by default.
- nsx_allowSSHRootLogin: true to allow SSH access with the root user, false to disable SSH access with the root user.
Once we know the variables to declare, we introduce them in the file “variables.tf” with the following structure:
variable "datacenter" {}
variable "cluster" {}
In case we want to add a default value for some variable, we can do it following this syntax:
variable "datacenter" {default = "sd-juan-lab"}
variable "cluster" {default = "sd-juan-lab}
As an example, here is the result of my variables.tf file
2.3 The main.tf file
This file is the main file of the deployment, where all the functions to be performed as well as the sources of data collection are included.
From here it is mainly interesting to understand the following parts:
- data: These are the sources to obtain data, here we indicate to the file, which variable must be read for each function required.
- resource “vsphere_virtual_machine” “vmFromLocalOvf”: It is the part of the code that tells the provider to deploy a VM inside the vCenter, including the child functions, such as the vAPP properties or the OVF configuration
-
lifecycle: In this section we could include specific features of the life cycle of this VM, such as, for example, that every time a change is made, it is ignored if the password has been changed in the configuration.
For more information on how this provider works, please refer to the provider documentation. (link)
2.4 The terraform.tfvars file
In this file, we will define the value of all the variables that we declared in the “variables.tf” file. Those that are not indicated here will take the default value specified in the previous one.
We will use the following format:
datacenter = "sd-juan-lab"
cluster = "sd-juan-lab-cl1"
Step 3: Starting Terraform and applying our settings

We’re almost there!
The last step will be to initialize Terraform, create a plan with the current configuration and apply it.
3.1 Initializing Terraform
Once we have all our files prepared and saved, we open a Windows CMD and CD to our Terraform working folder (the one we had open in Visual Studio Code) and launch the command “terraform init”.
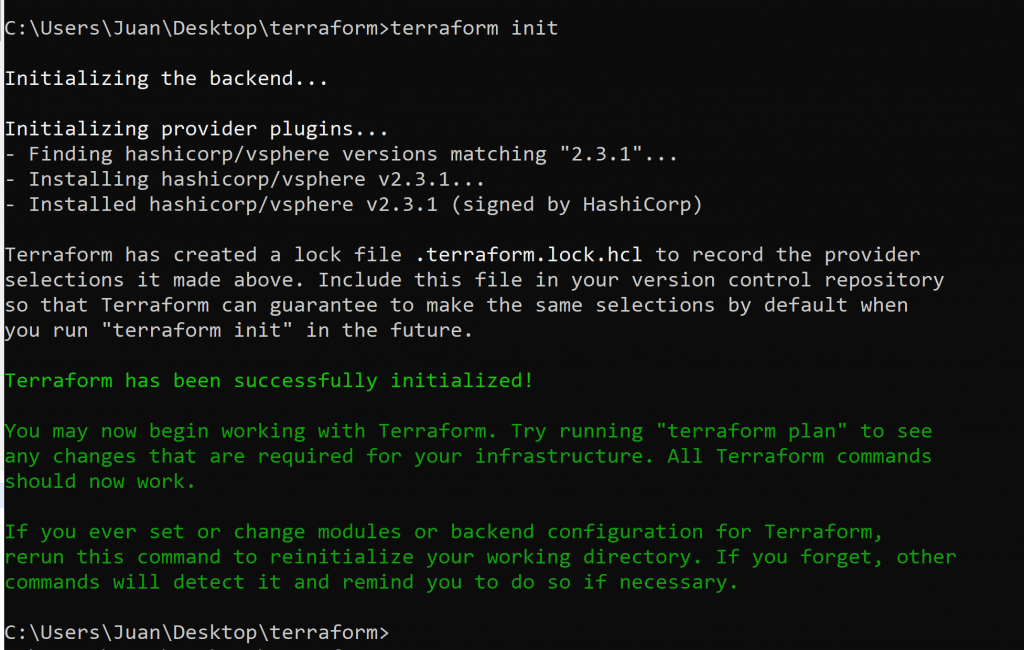
If everything has gone well, we will see a screen like the following, indicating that terraform has been successfully initialized.
3.2 Creating a plan
The next step will be to create a plan based on the files we have created before, something like “compiling” our infrastructure so that Terraform checks if everything is correct, looks for changes with respect to the existing infrastructure and it gets ready to work.
To do this, we will launch the command “terraform plan -out #PLANNAME#“
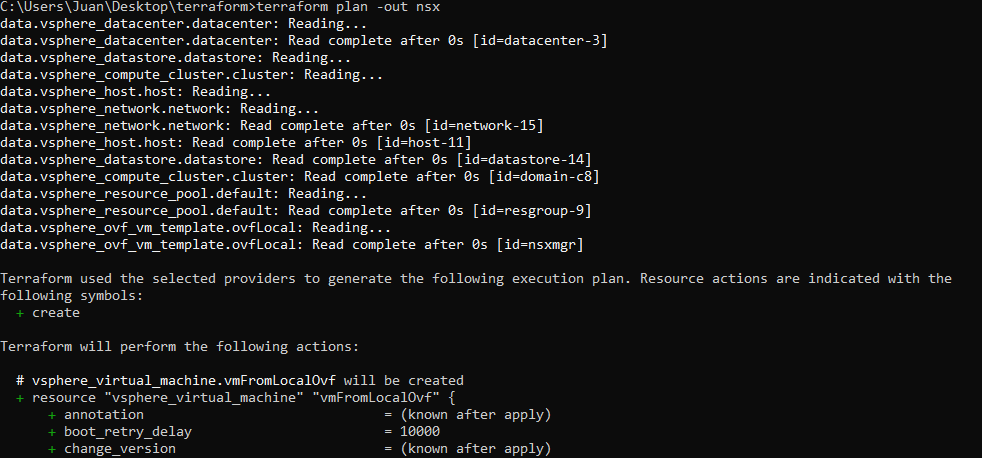

Once again, if all goes well, we will see a screen similar to this one, where we will have a summary of the configuration to apply
3.3 Applying the plan
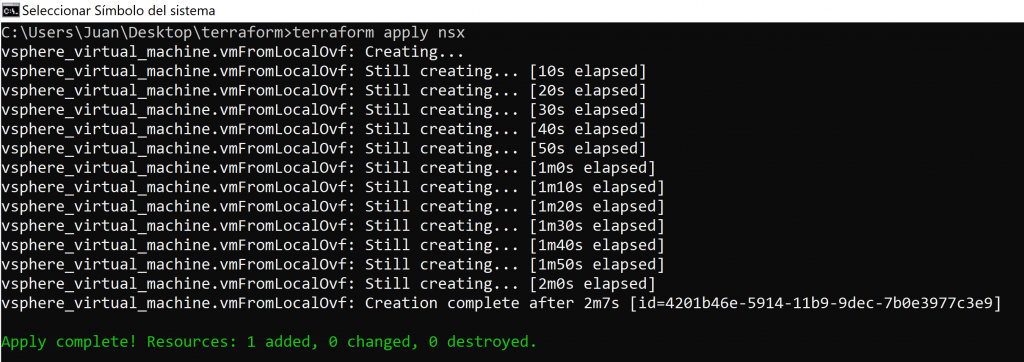
If everything is correct, we will proceed to apply the plan with the command “terraform apply #PLANNAME#
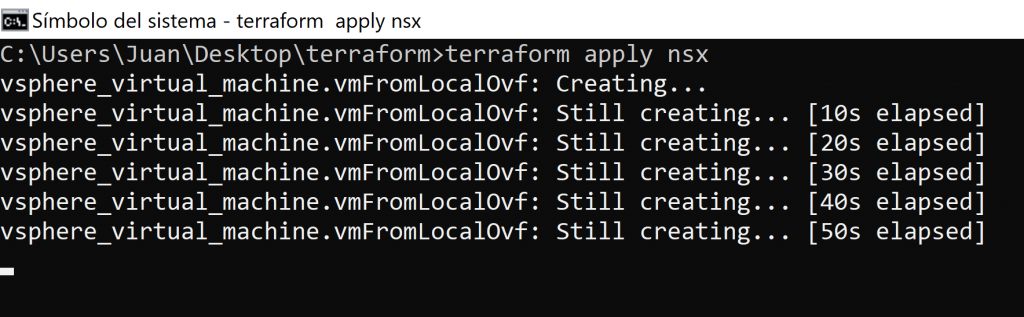
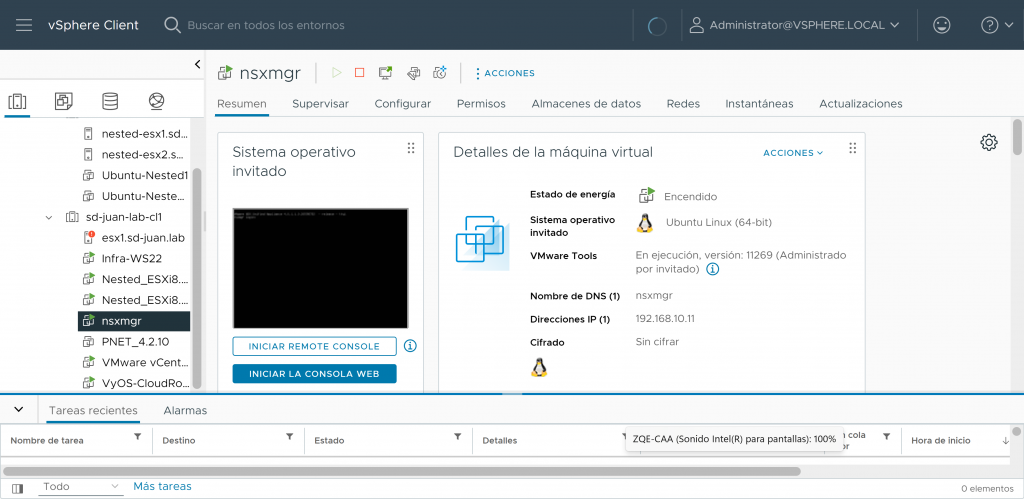
Terraform will start creating the VM with the indicated parameters. We can observe that this is so in the task panel of our vCenter:

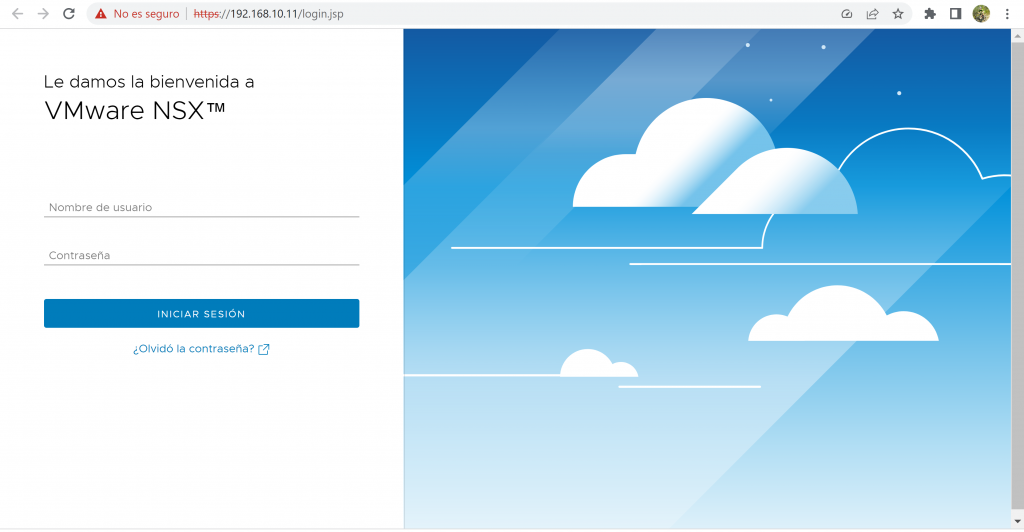
When finished, our VM will be created and ready to use!
As always, I hope you have enjoyed reading me and that it will be useful to you! See you soon!