
[vSphere with Tanzu][Homelab] How to fix a supervisor cluster stuck in “Removing”.
[vSphere with Tanzu][Homelab] How to fix a supervisor cluster stuck in “Removing”.
During the implementation of Tanzu on my home-lab, the process failed due to lack of resources on one of my ESX Nested nodes, so I proceeded to disable the supervisor cluster to fix it and then reconfigure it.
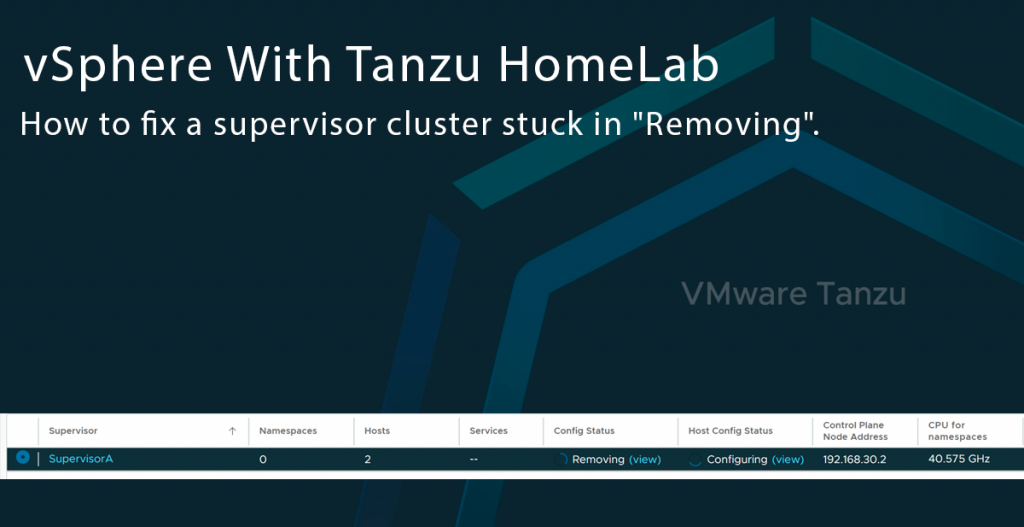
The problem is that the cluster was stuck in “Removing” being totally impossible to advance to another state.
Symptoms
- Cluster supervisor in “Removing” status for hours

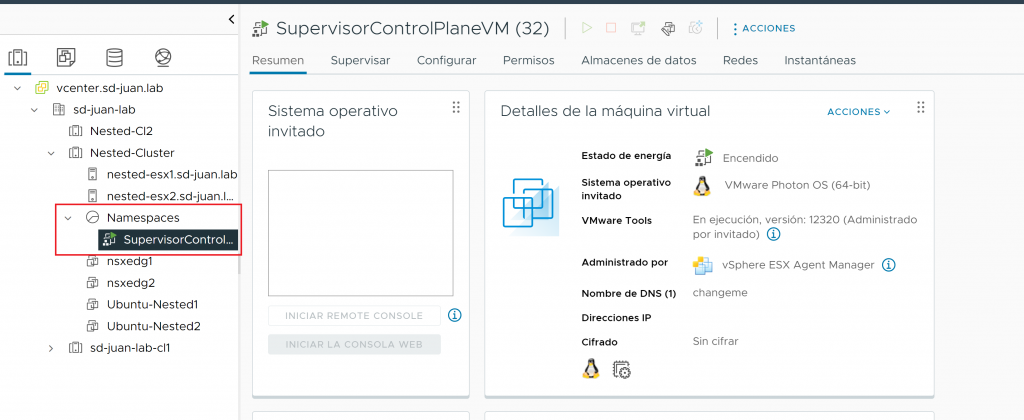
- Resource pool “Namespaces” and Supervisor VMs stuck, because we do not have permissions to delete them as it is an object managed by the ESX Agent Manager itself.
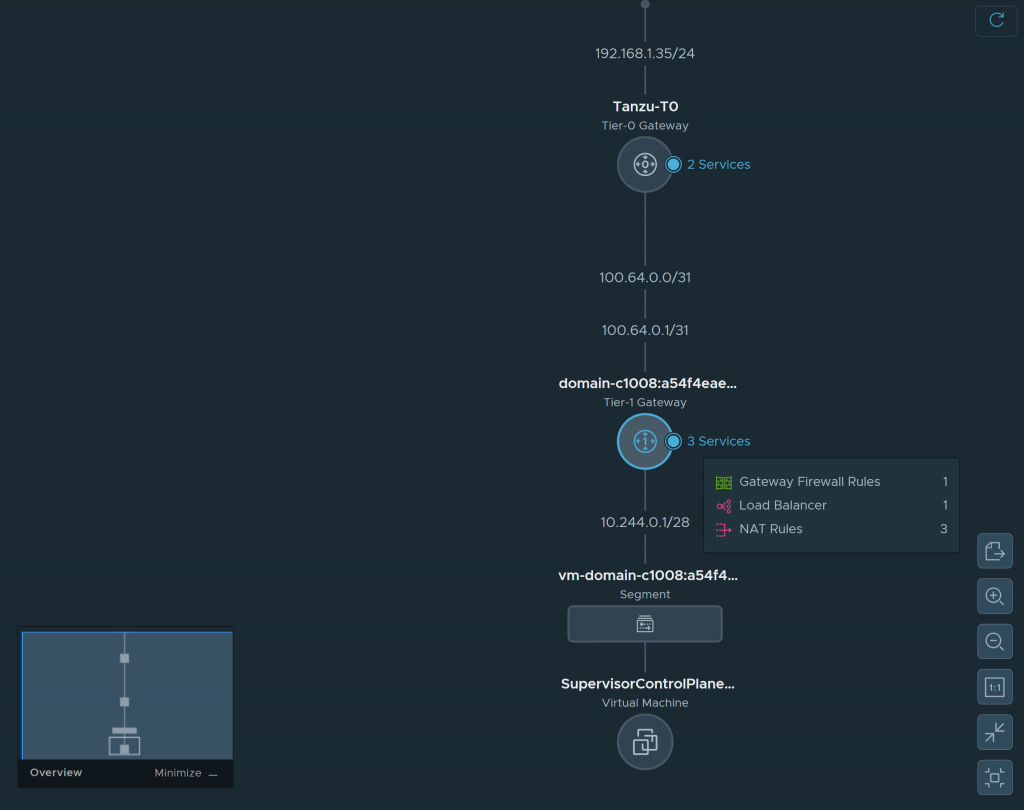
- In my case, as I am using NSX as Tanzu balancer, stuck elements in NSX, such as a T1, segments and load balancers that also cannot be removed by the admin user (it is possible to do it forcibly from the API, but it is not the purpose of this post, I will write about it in the future).
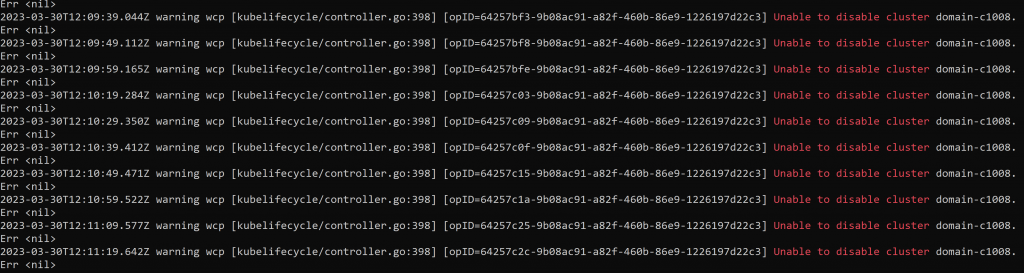
- In the wcp process logs (/var/log/vmware/wcpsvc.log) we can see the message: Unable to disable cluster domain-xxxxx. Err <nil> constantly for hours, indicating that the removal process is in a loop.
Unsuccessful troubleshooting
- Restart the wcp service: Same result
- vCenter restart: Same result
- Complete restart of vCenter and nodes: Same result
- Manually remove th Supervisor VM from ESX host: The VM got orphaned, Same result
- Try to deactivate the cluster from PowerCli: The process is not progressing at 0%
- Try to remove the resource pool “Namespaces” from PowerCli and from API: No permissions
- Search in forums and VMware community: Some people reported similar problems but no solution.
It seemed like my only option was to deploy a new vCenter server and start from scratch, but since this was a lab, why not take the opportunity to break it down a bit more and investigate 😜😜, and that’s how I came up with the solution:
Solution:
Please DO NOT attempt to do this in a production environment, as we will be working on the vCenter database directly and may render it unusable or partially corrupt. If you have a production environment and any problems like this, please open a support case with VMware instead of continuing with this guide. This trobleshooting has been totally home-made, designed for a home-lab and is not supported by VMware. This post is dedicated to people who want to “mess around” to learn.
Step 1: Obtaining the ID of the resource pool “Namespaces” through the API explorer.
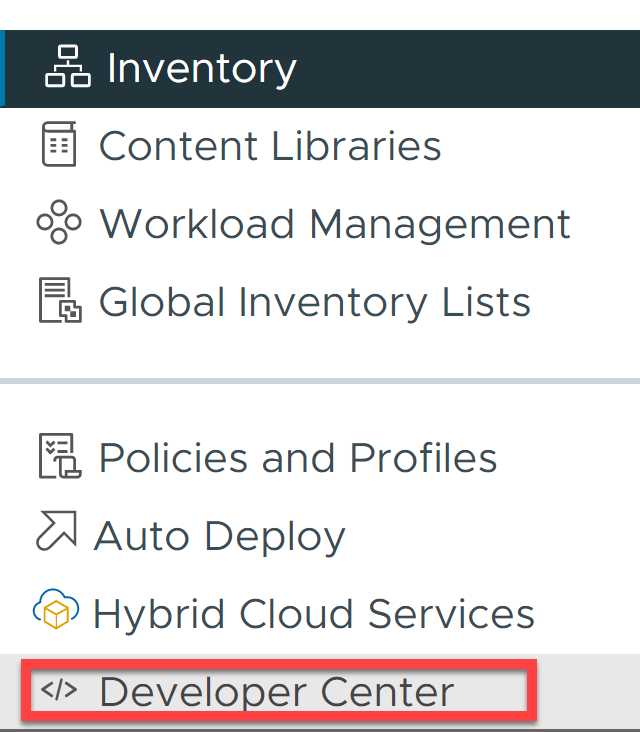
The first step is to obtain the identifier of the resource pool “Namespaces” using the vCenter API Explorer. To do this, on the main menu click on “Developer Center”.
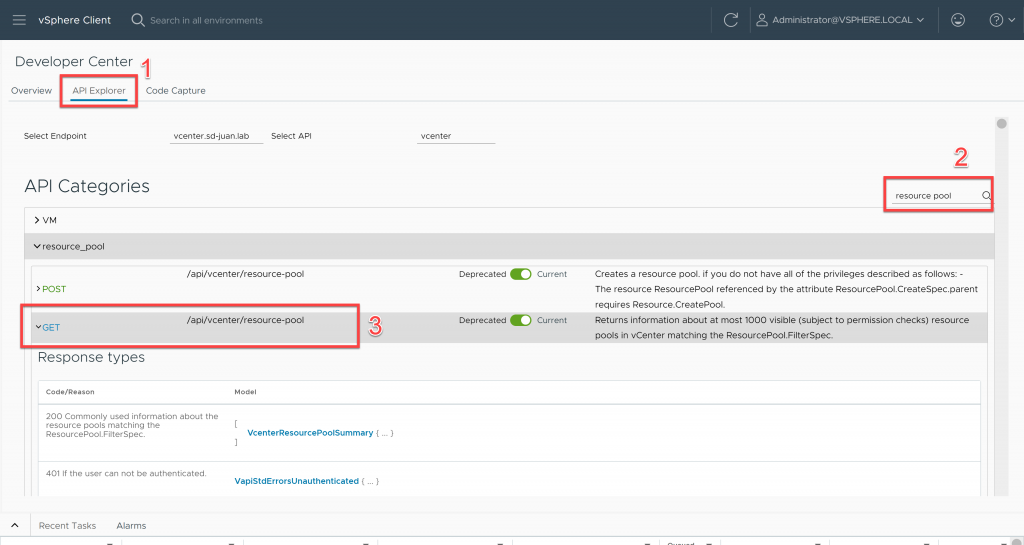
Once inside, click on “Api Explorer”, type “resource pool” in the search box and run the GET on /api/vcenter/resource-pool

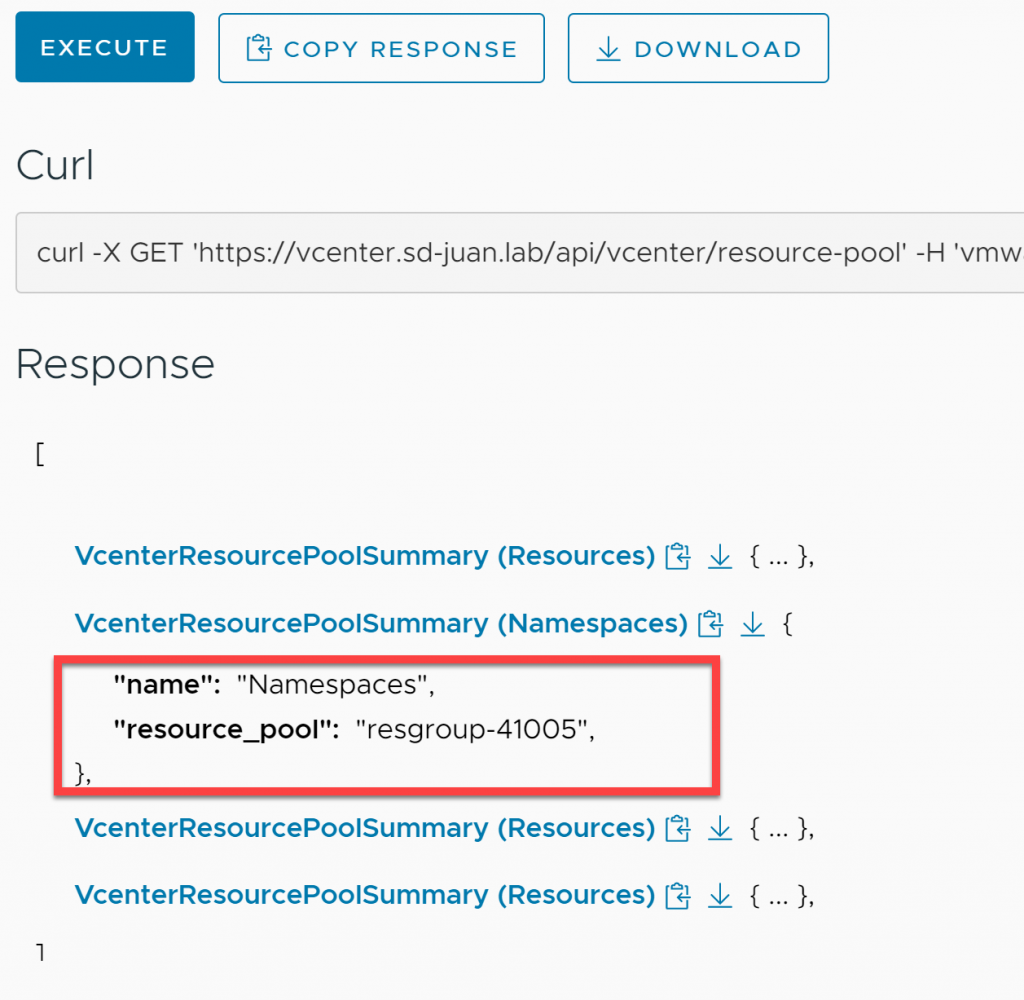
Once we have the response from the command execution, we expand the resouce pool “Namespaces” and we write down the resgroup number (in this case 41005)
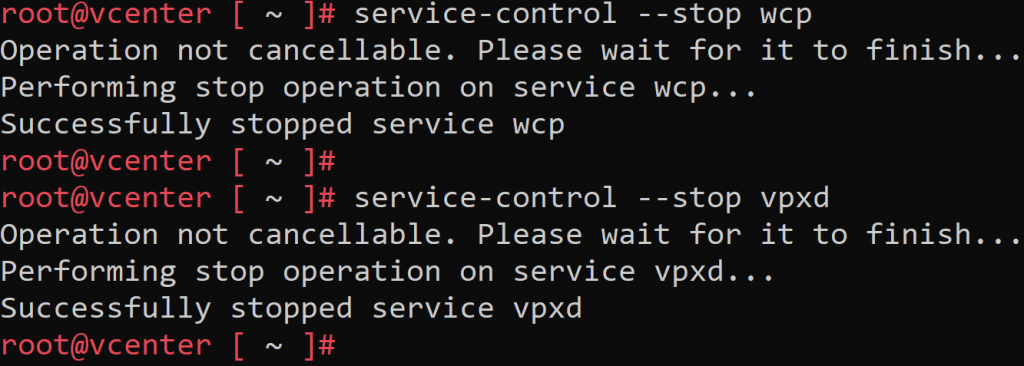
Step 2: Stopping wcp and vpxd services
The next step is to stop the wcp (Workload Control Plane) and VPXD (Virtual Provisioning X Daemon) services. We must take into account that while the VPXD service is stopped, our vCenter will be inaccessible.
We connect via ssh to vCenter as root and run a shell.
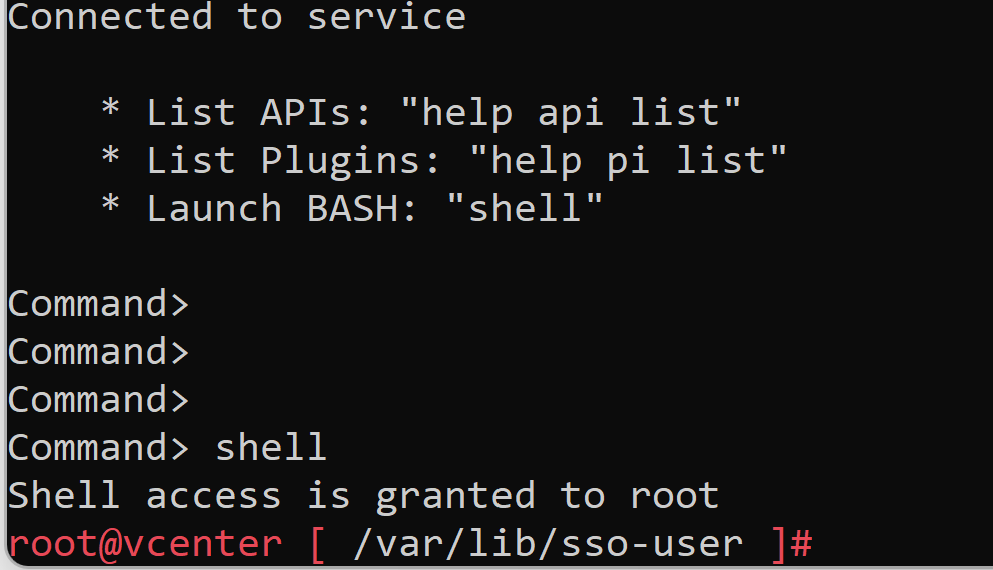
Once inside, we launch the following commands:
service-control --stop wcp
service-control --stop vpxd
Step 3: Backing up the vCenter PSQL database
As we are going to play on the vCenter database, the first step will be to obtain a backup, in order to be able to restore it in case of problems:
/opt/vmware/vpostgres/13/bin/pg_dump VCDB -U postgres > VCDB-db-bck.sql
We check that the backup has a reasonable size, and optionally for security, we can proceed to download it with a tool such as Winscp:

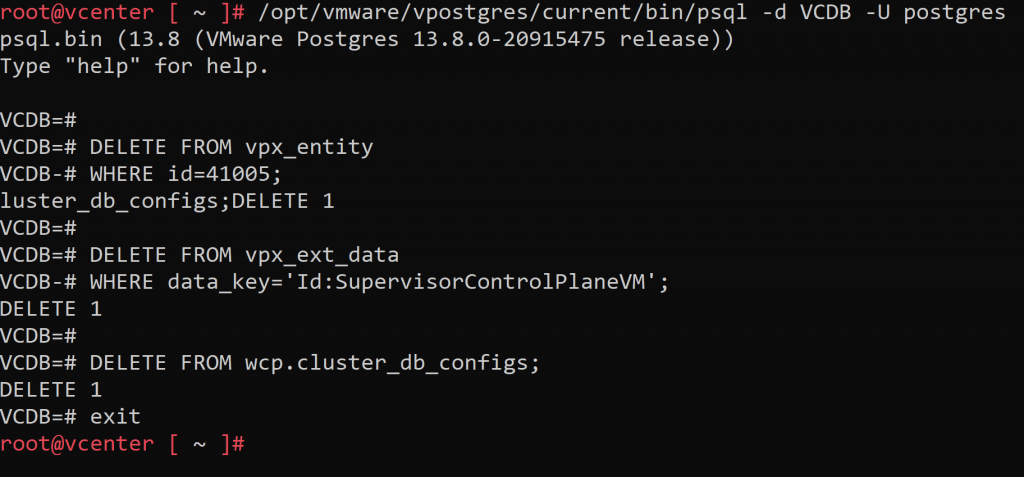
Step 4: Connecting to the vCenter database and deleting wcp and resource pool items
Next, we will connect to the vCenter PSQL database and delete the columns that refer to the resource pool entity “Namespaces”, as well as the supervisor cluster configuration. Although we will not delete everything and the database will be dirty, we will delete enough so that it can be properly cleaned by vCenter in the next steps.
First, we will replace in the following code the RESOURCEPOOLID field by the resource group number pointed in step 1:
/opt/vmware/vpostgres/current/bin/psql -d VCDB -U postgres

DELETE FROM vpx_entity
WHERE id=RESOURCEPOOLID;

DELETE FROM vpx_ext_data
WHERE data_key='Id:SupervisorControlPlaneVM';

DELETE FROM wcp.cluster_db_configs;
exit
Please note that this command will delete all supervisor cluster instances available in the vCenter, in case you have more than one instance, it will be necessary to delete only the affected cluster in the wcp.cluster_db_configs table.
Once the id has been replaced, we launch the command from the previously opened root shell:
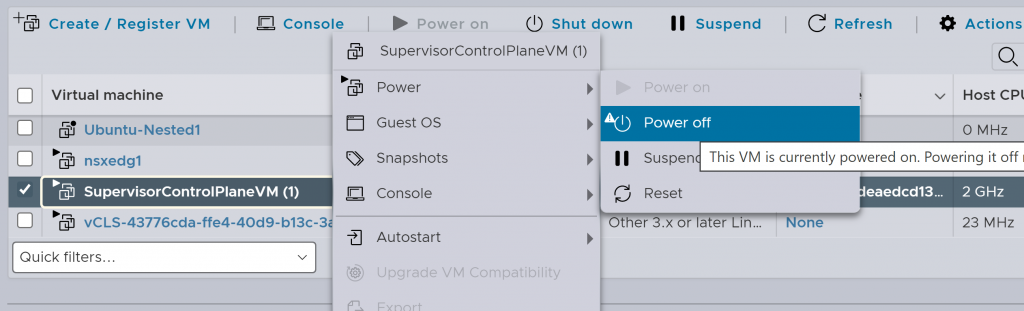
Step 5: Manually deleting the SupervisorControlPlaneVMs
Next, we will manually remove the SupervisorControlPlaneVMs from the hypervisors, for this we will go to each of the ESXi containing these VMs and first we will turn them off, then we will remove them:
Step 6: Bringing up the wcp and vpxd services, and removing the SupervisorControlPlane VMs from the inventory.
We proceed to lift the services that we stopped in step 2, launching on a vCenter root shell the commands:
service-control --start vpxd
service-control --start wcp
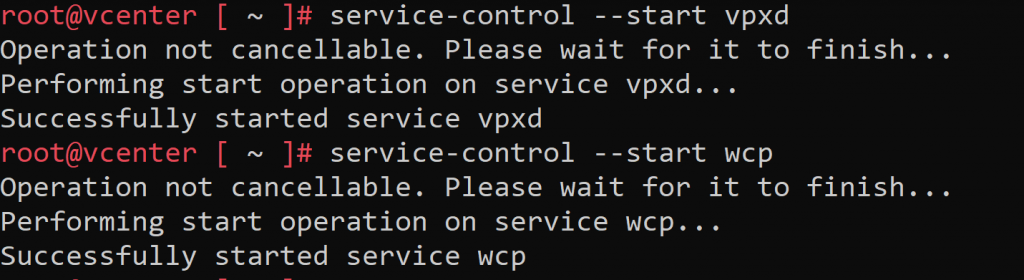
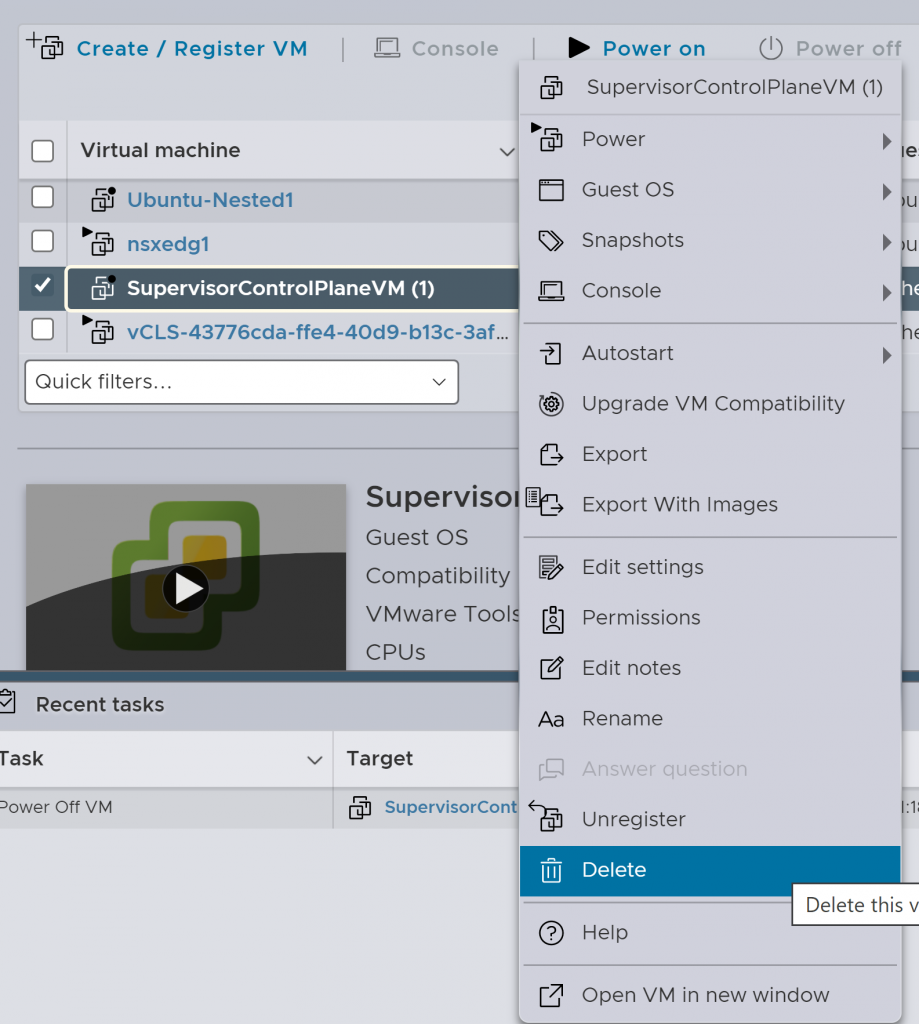
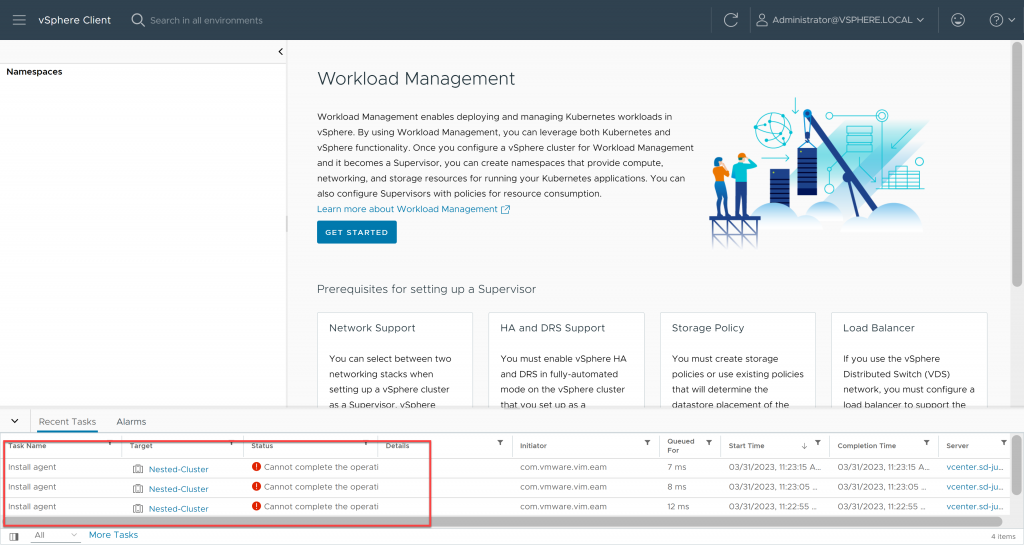
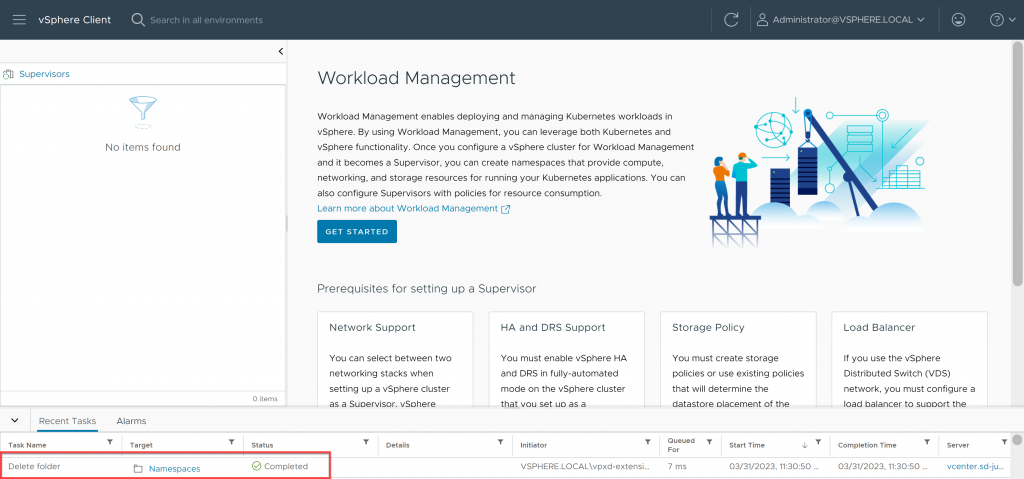
We go back to our vCenter, and we will see that both the Namespaces resource pool and the supervisor cluster configuration have disappeared, however the SuperVisorControlPlane VM still appears as “orphaned”, in the taskbar we can see several failed agent installation attempts, and in NSX (in my case) the cluster configuration persists:
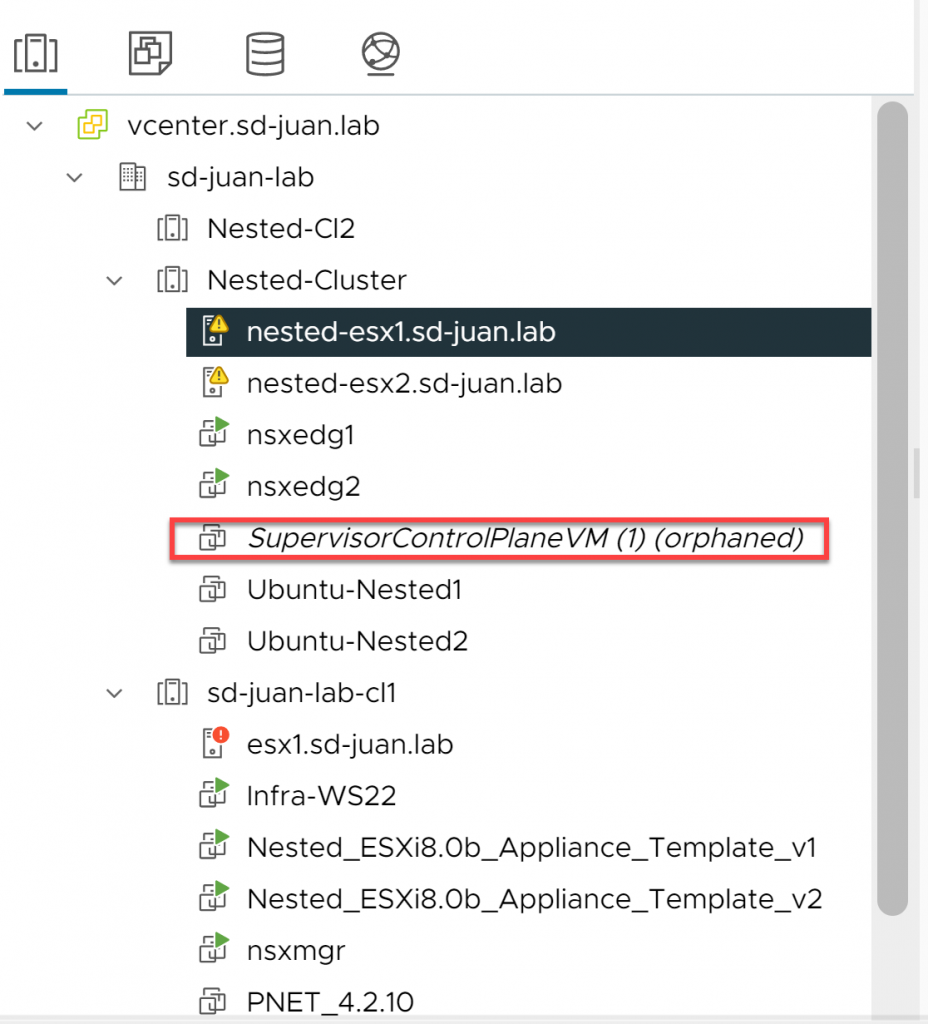
However, now we have the option to remove the SupervisorControlPlane from the inventory by right clicking on it and clicking on “Remove From Inventory”. So we do it.

Step 7: Reconfiguring and re-deactivating the cluster
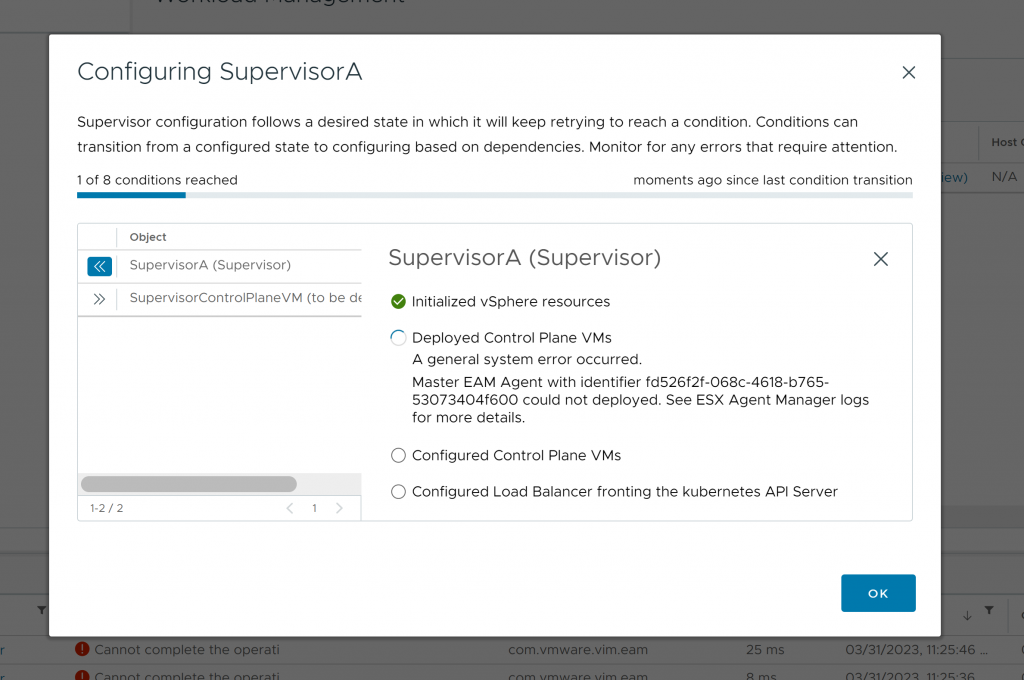
The last step will be to try to reconfigure the Supervisor cluster from the Workload Management menu, so we access and enter all its configuration parameters and launch its deployment:
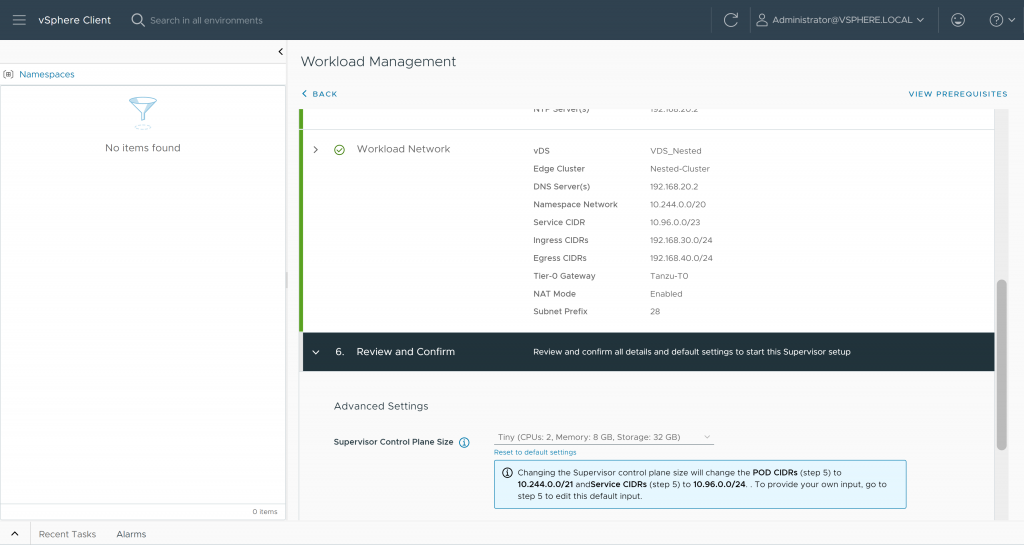
We will immediately receive an error, indicating that the cluster cannot be deployed:
At this point, we will proceed to deactivate it again:
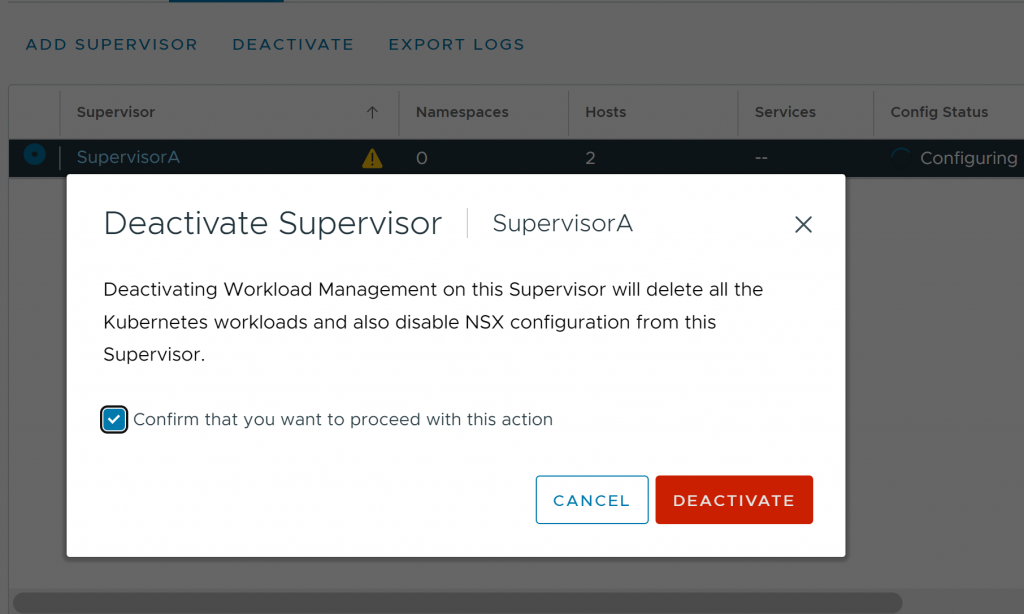
Here we go! After a few minutes, the cluster will be successfully deactivated, removing all remaining residual configuration (NSX, Host Agents…) and therefore removing all vCenter errors.
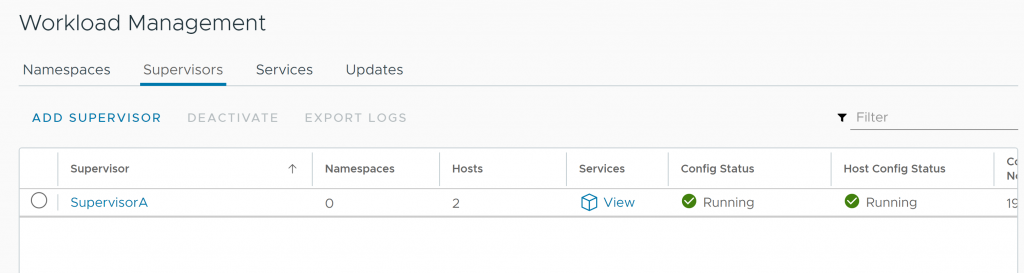
Bonus: Successfully redeployed Supervisor Cluster
After performing these steps, I was able to successfully deploy my Supervisor cluster again without having to reinstall vCenter, so it seems that the database was not too “broken” 😜
As always, I hope you liked it and that it will be useful to all of you who want to learn!