
[NSX Advanced Security Series 3] Testing NSX Distributed IDS/IPS
[NSX Advanced Security Series 3] Testing NSX Distributed IDS/IPS
In this third NSX Advanced Security Series, it’s time for Distributed IDS/IPS.
Distributed IDS/IPS works by using VMware signatures in collaboration with Lastline to detect and prevent potential attacks in our environment. The great added advantage of this IDS/IPS over others is the flexibility to work both North-South (at the T1 level) and East-West, allowing full control of all traffic flows in a similar way to micro-segmentation, as the IDS/IPS is topologically installed at the vmnic level.
Prerequisites
- NSX-T 3.x or NSX 4.x
- For using it with the Gateway Firewall, A large EDGE Cluster
- A valid license
Step 1. Enabling Distributed IDS/IPS
First, we will go to our NSX manager, Security > Policy Management > IDS/IPS & Malware Prevention > Settings > Shared and enable IDS/IPS both for the E-O on all the clusters or hosts we need, as well as on all the T1s where we want to activate it for the N-S.
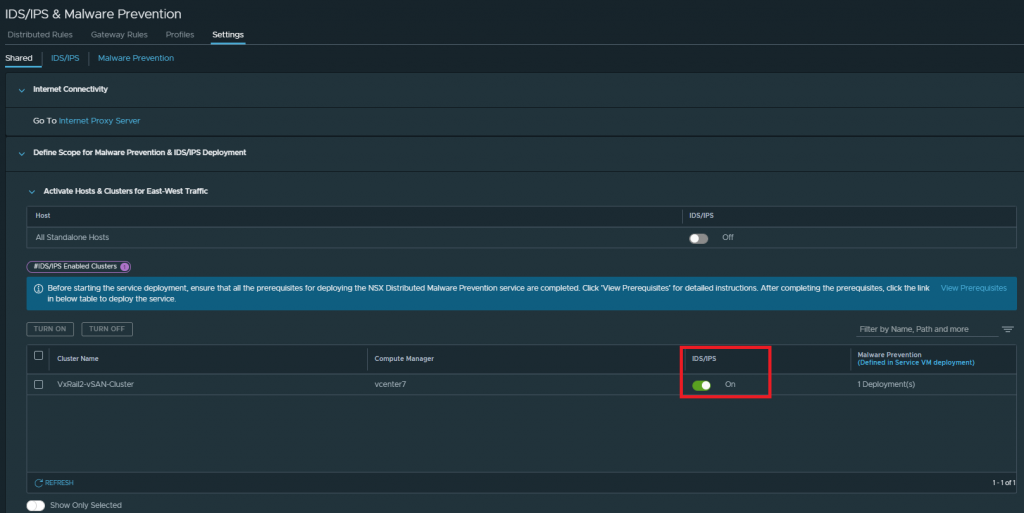

In my case, for this post, I will only enable it for East-West, as it is sufficient to show how Distributed IDS/IPS works.
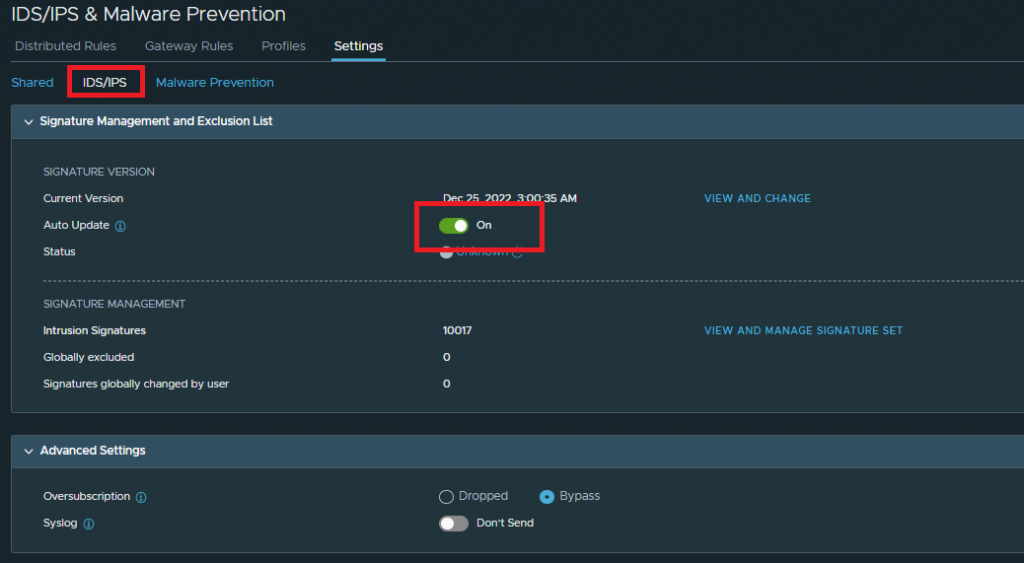
If we click on the IDS/IPS tab, we can configure the auto-update of the signatures or upload them manually:
Step 2. Creating IDS/IPS rules
The next step is to create our IDS/IPS rules and choose the VMs on which we want them to be applied. The interface is very similar to the one of the NSX Distributed Firewall, so if you are familiar with it, it won’t be complicated at all.
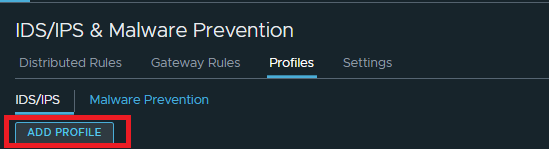
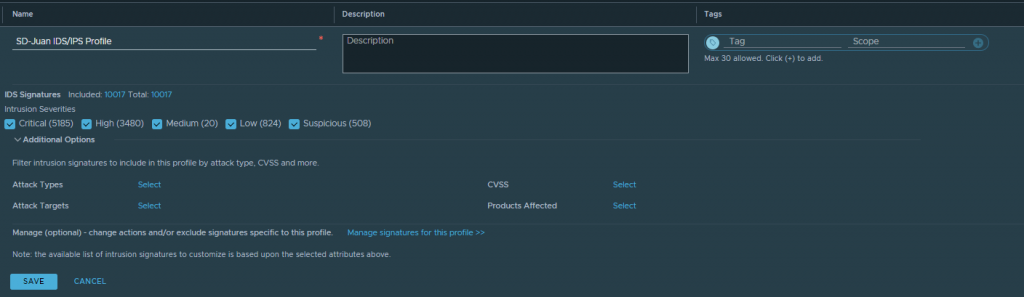
First go to Security > Policy Management > IDS/IPS & Malware Prevention > Profiles, and click on “Add Profile” to create a profile with the signatures you want to include in your IDS/IPS policy.
Once our profile is created, we will go to Distributed Rules if we want to create rules at DIDS level, or to Gateway Rules if we want to create them at T1 level.
In my case, I will go to Distributed Rules
And I will add a policy for IDS/IPS, then I will add the following rule for full protection of all my critical VMs:
- Source: Any
- Destination: Any
- Services: Any
- Security Profiles: The profile created in the previous step
- Applied To: The group of VMs where we want the policies to be enforced
- Mode:
- Detect Only: It will only detect and report intrusion attempts.
- Detect & Prevent: Block intrusion attempts
We must be careful if we decide to apply an IDS/IPS profile to the entire Distributed Firewall, as it will cause a high process load at the hypervisor level and could make our platform unstable.

Step 3. Testing Distributed IDS/IPS
Topology and attack description
Time to have fun!

Let’s put Distributed IDS/IPS to the test, starting with a Detect Only mode.
For this we have deployed in the same segment (to show the functionality of this product in the East-West) a ParrotSec Virtual Machine which will be the attacker and an Ubuntu virtual machine with Confluence 7.18.1 installed.
Confluence 7.18.1 is vulnerable to a Remote-Code Execution (RCE) exploit documented in the CVE-2022-26134


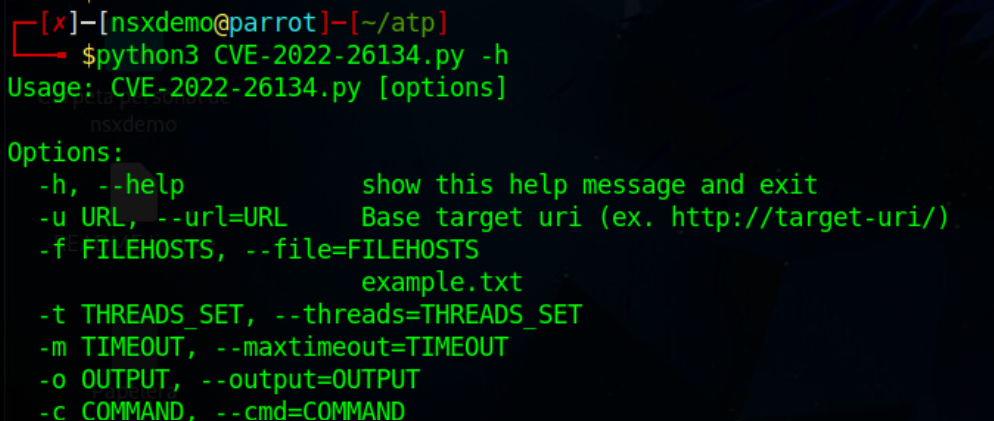
On the other side, I have my ParrotSec dist, with a CVE-2022-26134 exploit that I found on Github (Link)
Detect Only
Here we go! Let’s launch the exploit and see what happens, let’s remember that our IDS is at “Detect Only”
# python3 CVE-2022-26134.py -u 172.16.240.50:8090 -c pwd
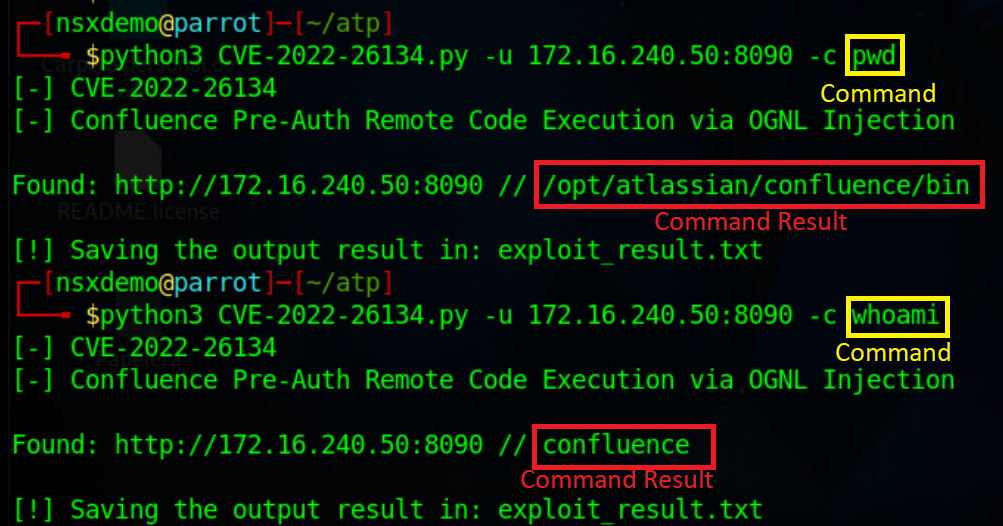
As you can see, the exploit worked and we were able to execute the remote code without authentication.
Now let’s go to our IDS/IPS (Security > Threat Event Monitoring > IDS/IPS)
Here it is! We can see the details of the attack:
- Severity
- Date of last detection
- Attack details
- Workloads (VMs) affected
- CVE details – with direct link to the mitre website
- CVSS
- Source and destination
- Information on whether it has been detected only or detected and prevented

Detect & Prevent
Next, go to Security > Policy Management > IDS/IPS & Malware Prevention and change our policy to “Detect & Prevent” and click on “Publish”.

And we will try the attack again:
# python3 CVE-2022-26134.py -u 172.16.240.50:8090 -c pwd
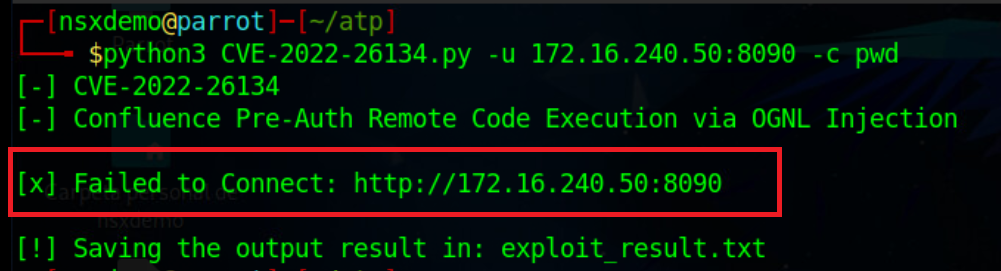
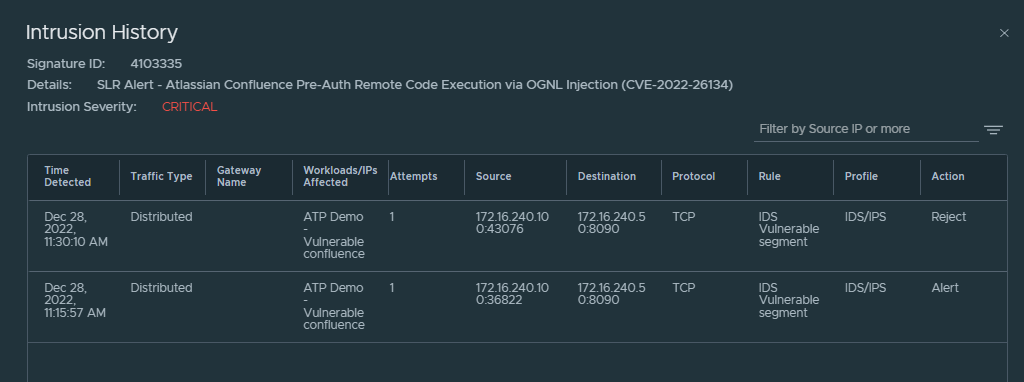
In this case the attack has been rejected, if we click on “View Full event history” in the NSX control panel we will be able to see that this time the attack has been detected and rejected.
And this is how we managed to patch CVE-2022-26134 on our Confluence server without the need to stop production urgently to update the product, without any downtime and in a completely transparent way for our users.

See you again soon!