
[NSX] Advanced Security Series 2: Deploying and testing Distributed Malware Prevention
[NSX] Advanced Security Series 2: Deploying and testing Distributed Malware Prevention
In this second series of NSX Advanced Security, we’re going to talk about Distributed Malware Prevention.
NSX Malware Prevention can detect and prevent the download of malware into our VMs by analyzing network-level hashes as well as local inspection on the Windows or Linux VM itself (As of NSX 4.0.1).
Prerequisites
- NSX Application Platform deployed – Link to tutorial
- NSX-T 3.2 or NSX 4.x
- Endpoint VMs running Windows (Supported releases) or Linux (NSX 4.0.1)
- NSX File Introspection Driver installed on the VMware Tools
- VM virtual hardware v19 or higher
- A local web server for downloading the SVM (In the tutorial we will use Linux and Apache).
Step 1. Enabling Malware Prevention
First we need to go to our NSX manager, System > NSX Application Platform and enable Malware Prevention (run the prechecks if necessary).
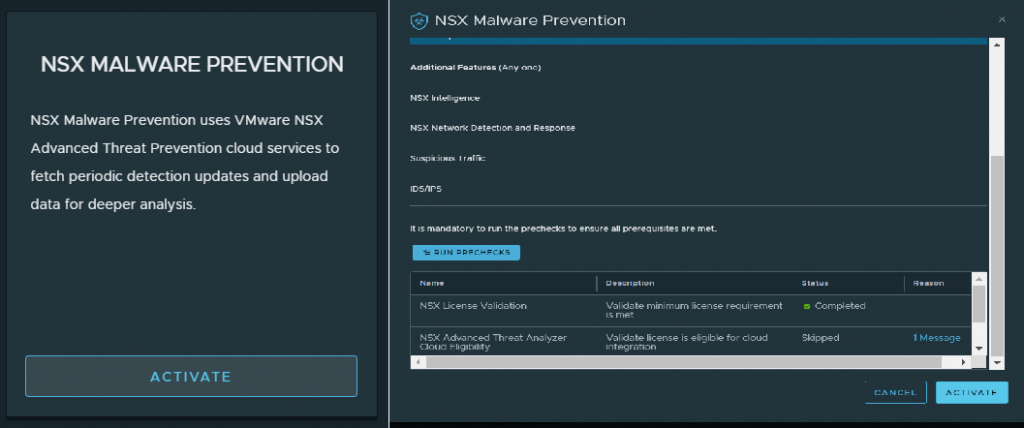
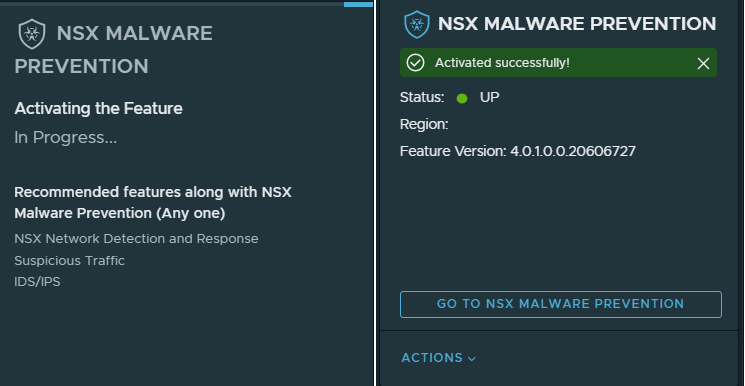
We wait until the feature is active before going to the next step:
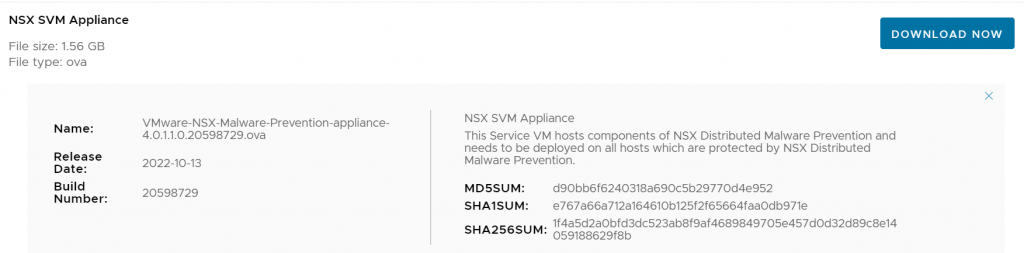
Step 2. Setting up a web server with Malware Prevention’s OVF
To deploy NSX Distributed Malware Prevention, we will need to download the SVM Appliance from the VMware site, and transfer it to the web server we are going to use to deploy it.

Step 2.1. Installing Apache and moving the VM to the html root
Next, we will install Apache on our VM to act as a web server for the deployment.
sudo apt-get update && sudo apt-get install apache2 -y
Then move the SVM to /var/www/html and unzip it.
sudo mv VMware-NSX-Malware-Prevention-appliance-4.0.1.1.0.20598729.ova /var/www/html

cd /var/www/html

tar -xvf VMware-NSX-Malware-Prevention-appliance-4.0.1.1.0.20598729.ova

Step 2.2. Adding the required MIME Types.
According to VMware, the following MIME types need to be added to the server for our deployment to be successful:
| File Extension | MIME Type |
|---|---|
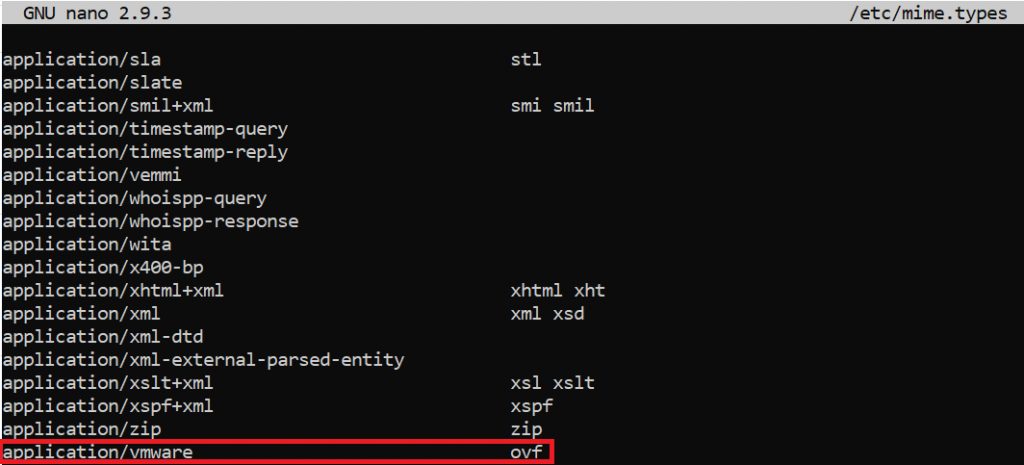
| .ovf | application/vmware |
| .vmdk | application/octet-stream |
| .mf | text/cache-manifest |
| .cert | application/x-x509-user-cert |
In my case (Ubuntu+Apache), the procedure to be followed is as follows:
Edit the /etc/mime.types file and add the required types following the syntax of the file, in my case I added them in order simply because I’m a cleanliness freak 😂, but they can be added in any order:
Once the file has been modified, we will save changes and restart apache:
systemctl restart apache2

We can verify that the MIME type assignment is correct, by launching a WGET to the server for example to get the SVM OVF file:
wget http://127.0.0.1/nsx-svm-appliance-3.2.1.0.0.19801960.ovf

Step 3. Registering the Service Deployment
The next step is to register the SVM Service Deployment with our NSX Managers, using the API. To do this I will use Postman, configuring it as follows:
- Request Type: POST
- URL: https://<Manager IP or FQDN>/napp/api/v1/malware-prevention/svm-spec
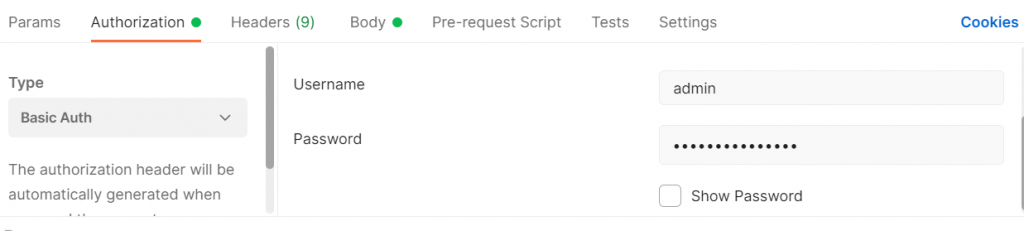
- “Authorization” Tab: Basic Auth, and enter the credentials of our manager
- “Settings” Tab: Disable SSL certificate verification if you use a self-signed certificate in your manager.

- Body Tab: We will use the following template:
{
    "ovf_url" : "http://<WEB SERVER URL>/nsx-svm-appliance-<VERSION>.ovf",
    "deployment_spec_name" : "<DEPLOYMENT NAME>",
    "svm_version" : "<DEPLOYMENT VERSION>"
}
In mi case:

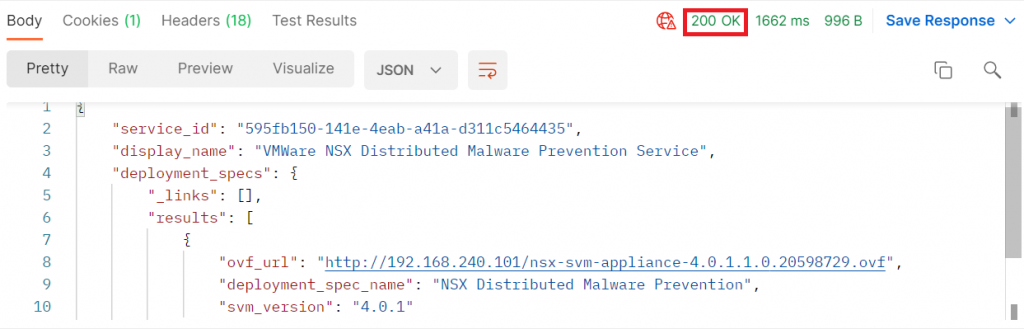
Press “Send” and if everything is correct we will receive a 200 (OK) response code similar to this one:
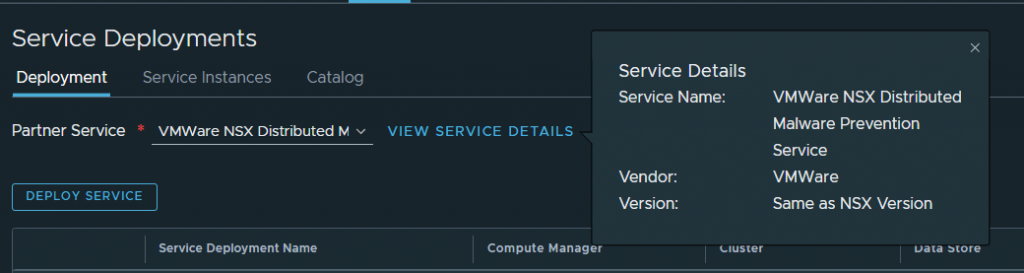
In our manager, if we go to System – Service Deployments, we can see that the service has been correctly registered:
Step 4. Deploying the Service Deployment
Next, we will start with the Service Deployment deployment, this will deploy in our vCenter 3 SVM VMs to which the traffic will be redirected to be analysed.
Step 4.1 Genereating a private SSH key
First of all, we will need to create a private key for these VMs, this key must be saved because if we ever need to SSH access to any of the SVM VMs, it will be necessary.
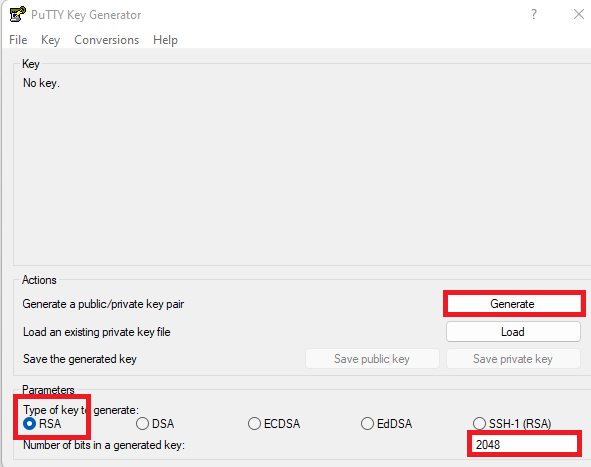
In my case, I will generate it with PuTTYgen, a software included with Putty for key generation:
- Open PuTTYgen, and configure it to generate a 2048-bit RSA key, then click Generate and move the mouse around the screen to generate randomness.
- Once the key is generated, click on both “Save public key” and “Save private key” and save the keys in a safe place.
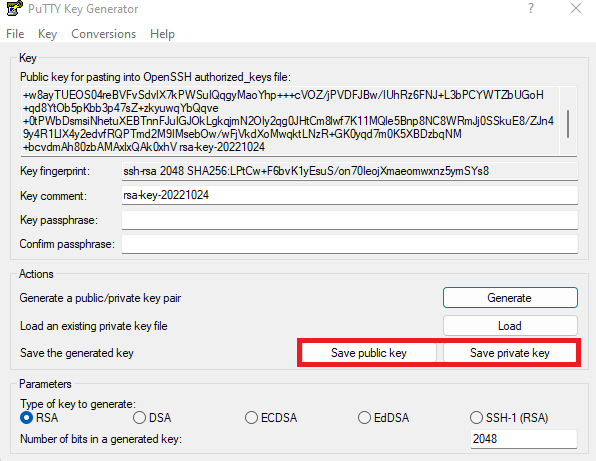
We will also copy the public key to our clipboard.
Step 4.2 Deploying the SVMs
We go back to our manager where we left off, under “System” – “Service Deployments”.
We choose the service we have previously registered and click on “Deploy service”.
We enter the following parameters:

- Service Deployment Name: Name for the deployment
- Compute Manager: the vCenter where the VMs will be deployed.
- Cluster: The Cluster where the VMs will be deployed.
- Data Store: The datastore where the VMs will be deployed.
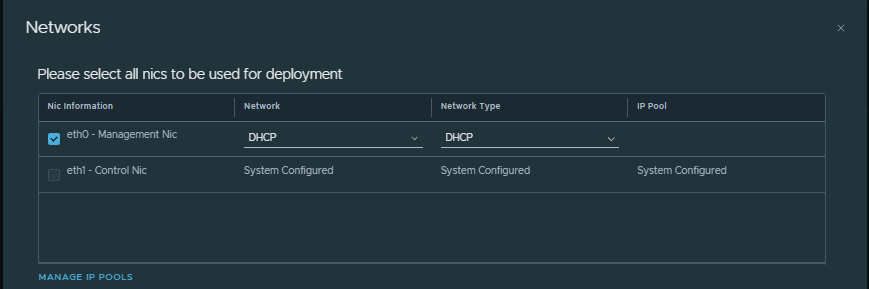
- Networks: A management network for the 3 VMs to be deployed (at least 3 free IPs), this network must reach the managers and can be configured either by DHCP or by a static IP Pool.
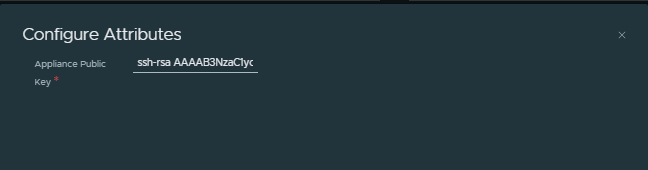
- Configure attributes: Click and paste the public key we copied to the clipboard in the previous step.
Click on “Save” and the service will start to deploy. If all goes well, it will be ready after a few minutes.

Paso 4.3. Habilitando Malware Prevention.
Once the service is deployed and up, in our manager we go to “Security” – “Policy Management” – “IDS/IPS & Malware Prevention” – “Settings”, and in “Shared” we enable all those T1s that we want to participate in Malware Prevention for North – South inspection (In the East-West it is enabled automatically).

With this we now have Malware Prevention deployed and configured for testing.
Step 5. Testing Distributed Malware Prevention.
It’s finally time to try Malware Preventión!

Step 5.1 Creating a Malware inspection profile and rules
In our NSX Manager go to “Security”, “Policy Management” – “IDS/IPS & Malware Prevention” – “Profiles” – “Malware Prevention” and click on “Add Profile”, create a profile with all the file types that we want to be inspected:

Once created, go to the “Distributed Rules” or “Gateway Rules” tab, depending on where you want to apply your rules, and create a DMPS rule:
- Sources: Any
- Destination: Any
- Services: Any
- Security Profiles: We choose the profile we have just created.
- Applied To: We choose those groups where the VMs we want to protect are included.
- Mode: Detect Only (Malware will not be blocked in the VM but will be reported in NSX), Detect & Prevent (Malware will be blocked in the VM)

Step 5.2 Downloading Malware to the VM (Detect Only)
We will start with our rule set to “Detect Only” to test the behaviour of DMPS in the VM.
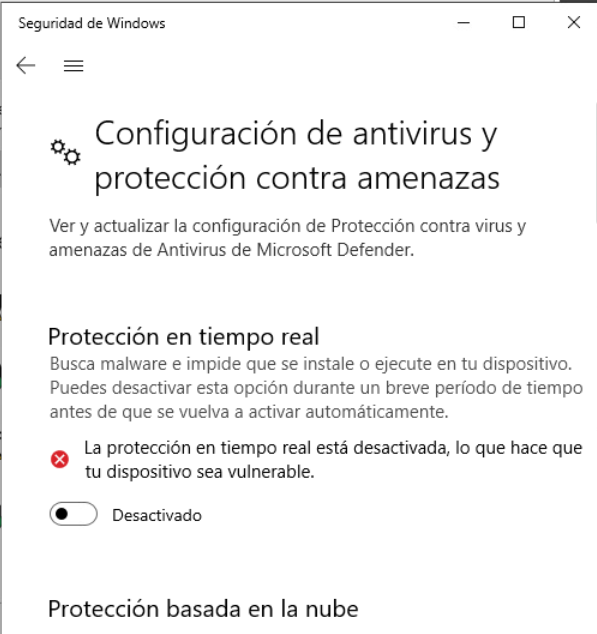
We choose a VM that is part of the group on which we have applied the DMPS rules. We will stop Windows Defender to avoid blocking by Windows’ own antimalware during the test (DMPS and other antimalware can coexist perfectly well, but in this case we will download a file that it is easily detected by all antimalware and can interfere with the execution of the test).
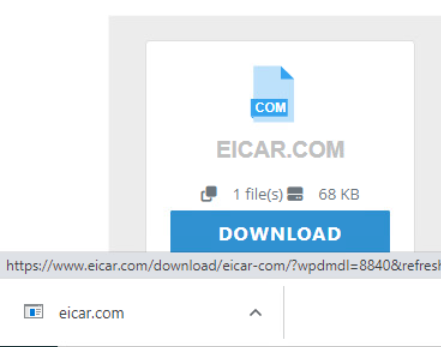
We will open an internet browser and try to download “EICAR Anti Malware Test File”
It is not a Malware in itself and it is 100% safe to download and use, as it is a file that was created in 1996 to test the functioning of antivirus software.
We will try to download any of the EICAR files, in my case I will download EICAR.COM.
The download has completed successfully and the “Malware” has been downloaded to the VM. Let’s look at NSX, Tab “Security” – “Threat Event Monitoring” “Malware Prevention”.
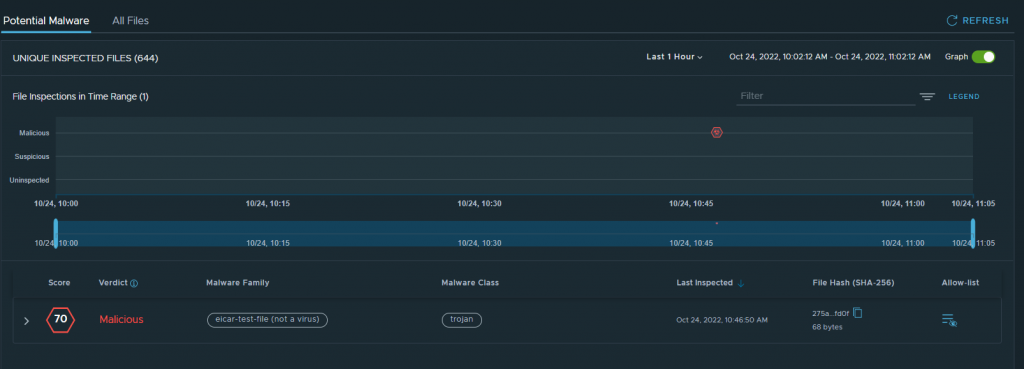
The Malware has been detected and reported as configured in the previous rule. This works!
Step 5.3 Downloading Malware to the VM (Detect & Prevent)
We will now test the operation of Malware Prevention by changing the rule created in step 5.1 to “Detect & Prevent”.

We will try to download the file again, but this time…
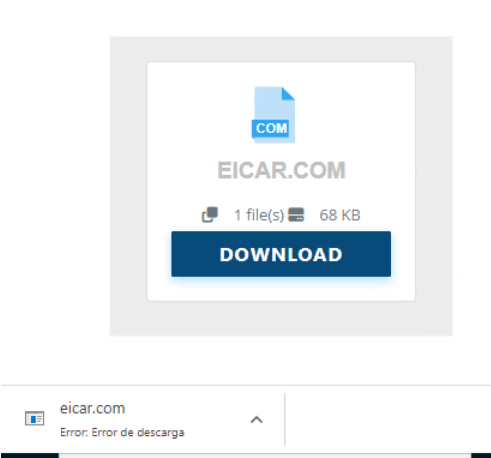
We will get a download error automatically when trying to download the file Detect and Prevent works perfectly!
If we go back to NSX and look at the details of the intrusion, we can see that this time the download has been blocked:


I hope you enjoyed and learned from reading my post, as much as I did creating it. As always, any comments or suggestions would be appreciated.
Keep an eye on my blog if you want to read more content about NSX ATP